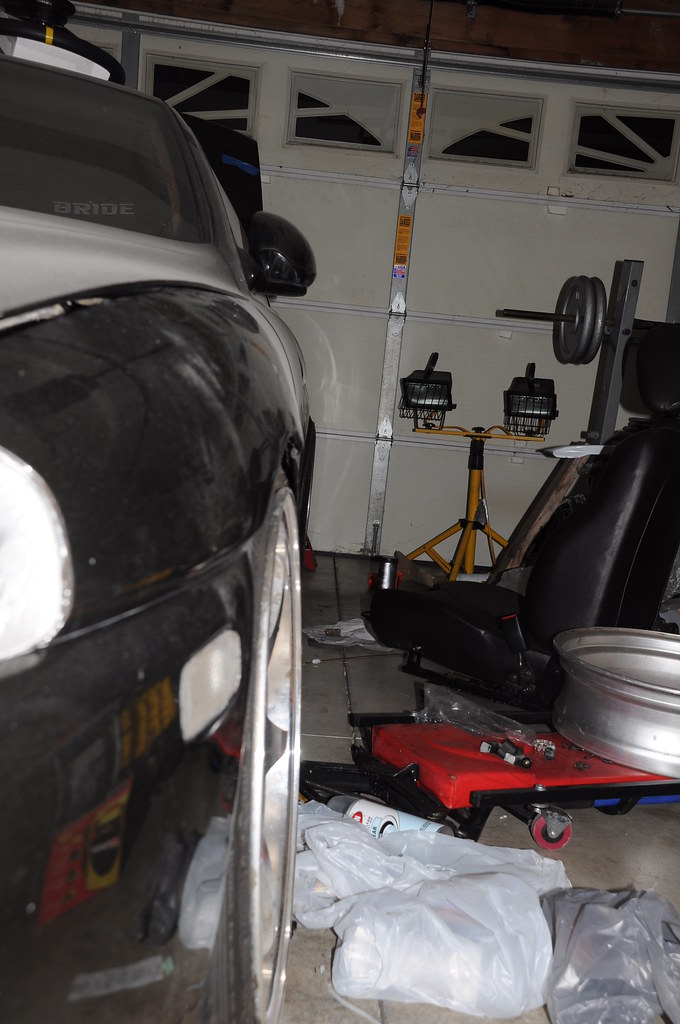
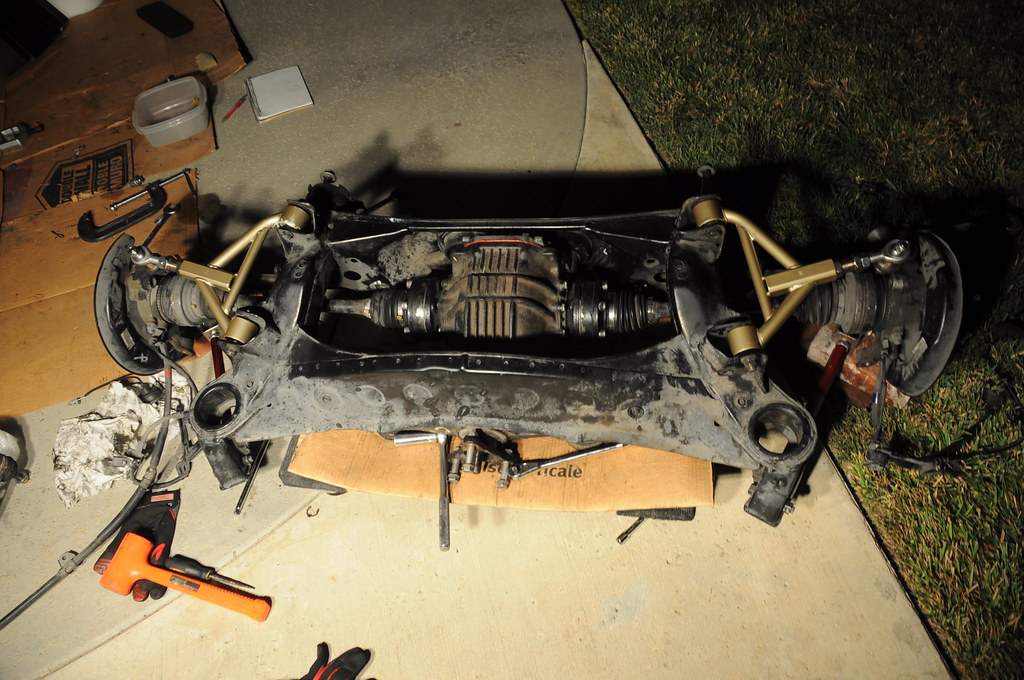
Things were looking up, Parts had been rolling in and found their way onto the subframe. I somehow forced the subframe, arms, and hubs onto dollies and pushed them back into the garage under my car to await the last few remaining parts, the BVer Toe rods and BVer subframe mounts.
On my day off, I headed over to Battle Version. After slamming my tC's underbody about 30 times through horrific Pomona streets, we arrived in the plaza where Battle Version had apparently just moved into. Walked up to the shop and was greeted by a Alex Pfeiffer from inside. Walked in and greeted him, and asked for the parts. As I waited for the toe rods to get assembled, Alex went thoroughly over the subframe mounts, explaining which one went where. After a quick chat and tour through his shop, we headed to Home Depot to pick up bolts/nuts for exhausts, and off to IHop for a quick lunch. Arrived back home and got right to work. Threw the BVer stuff in the freezer, since they seemed to be a bit of a tight fit already, and while we waited for the aluminum to compress a bit, we made sure everything else on the subframe was nice and tight. An hour or two later, took the mounts out and slammed them into the mounts with a deadblow since I hadn't deburred the rear subframe mounts completely of the burnt rubber.
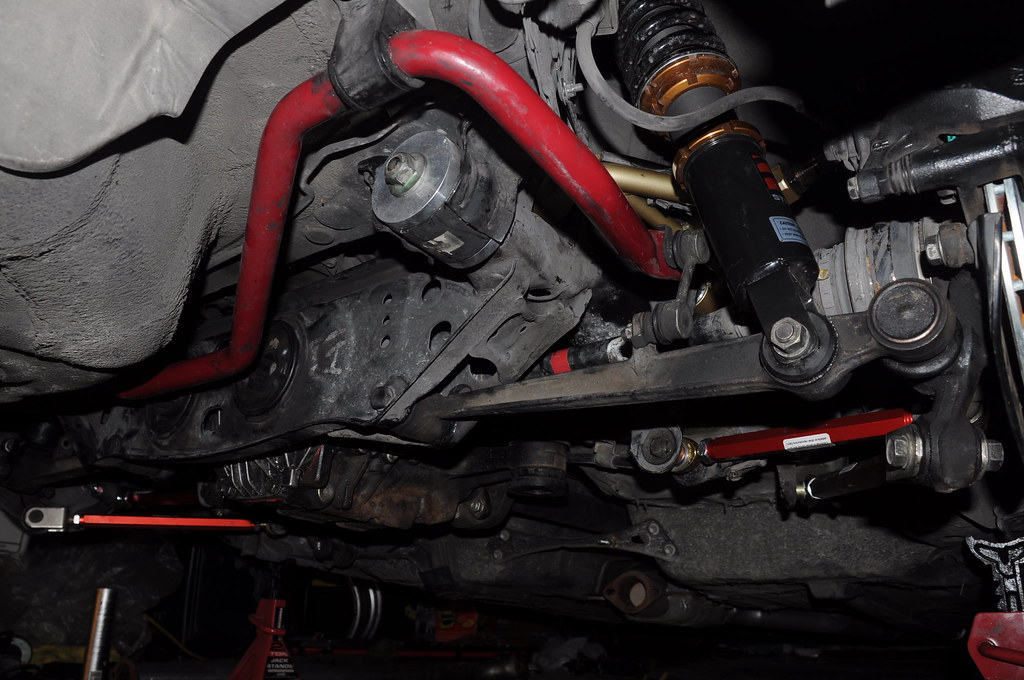
Slammed in the front mounts and got a jack under the diff. As we jacked it up, we lined it up to the driveshaft that had been chillin' it on a bar that runs across the bottom of the tranny tunnel. When they were lined up, I gave the subframe a quick few kicks from behind to force the diff into the driveshaft. Once that was in, we jacked it up the rest of the way and bolted everything in, including the toe rods since it was easier to install with the subframe already in the car.
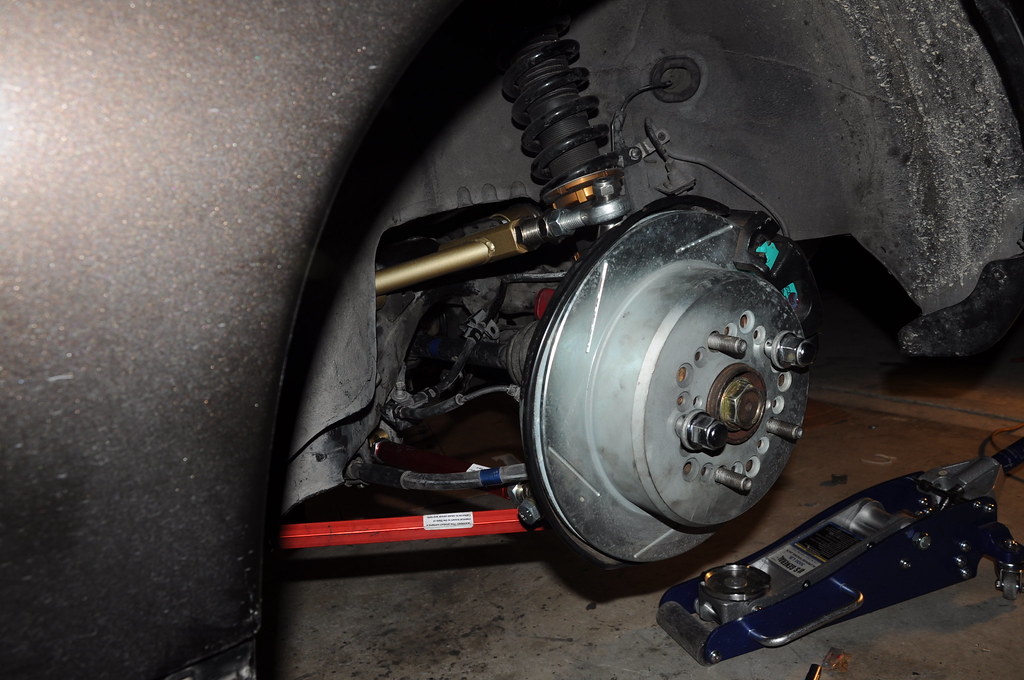
Double checked to make sure everything's tight and Lowered the car back down. Whoops. Rears ended up having positive camber and insane toe out.
Redo. Shortened the upper control arm and lowered it .5".
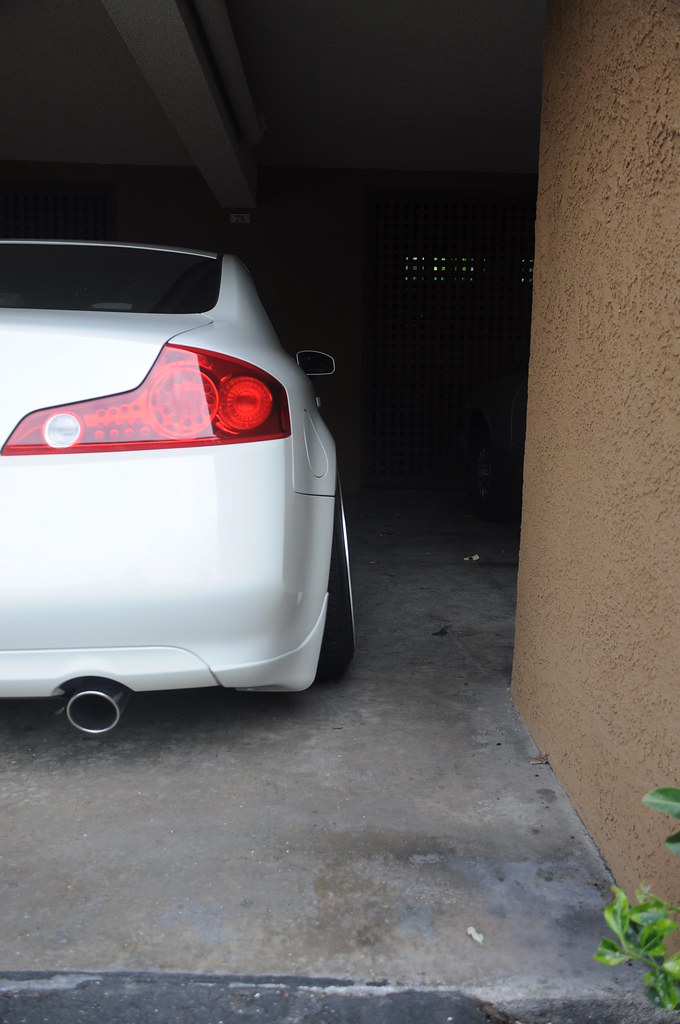
Lowering it turned out to be a problem, as I had completely forgotten the rear coils hadn't been settled yet, and the cat converter under the car ended up smashing into the ground 30 times in a 3 minute test drive while my car was on the verge of rimtuck. Took off the kit for the time being, and went ahead and installed my new tanabe exhaust that I had gotten in a trade for my 5zigen fireballs. The fireballs didn't allow for a rear lip, and it had a look that I was slowly getting a bit tired of. Before another test drive, I, again, adjusted stuff.
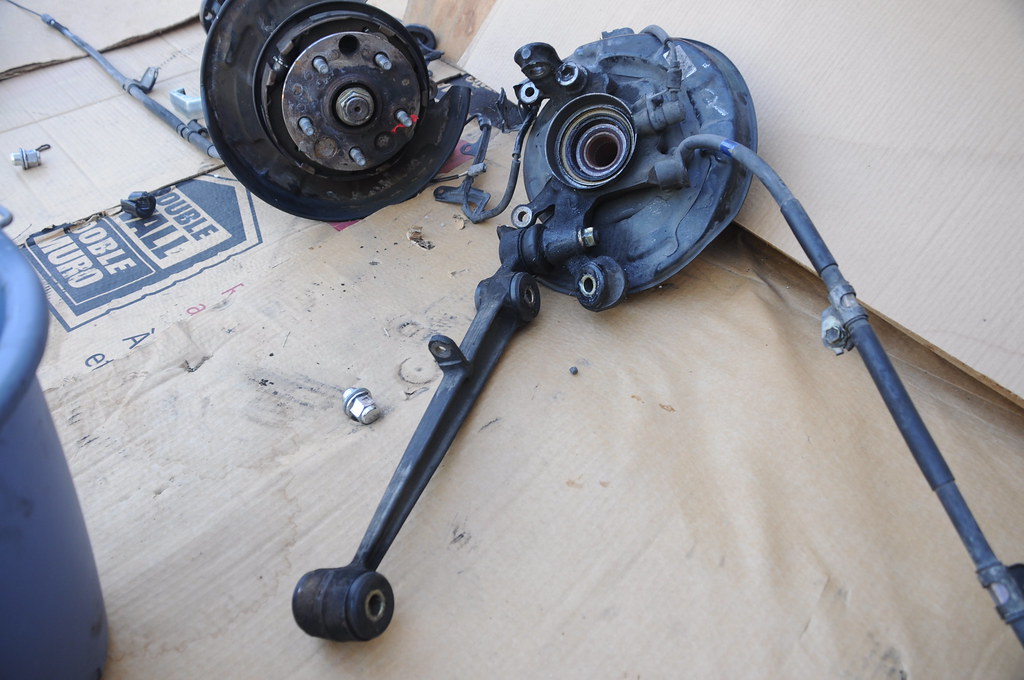
During that process, I noticed the rear wheel had play in it. Uh oh. Checked to make sure loose nuts/bolts weren't the cause of it, but they were all tight. Took it for another drive, this time along a route that had walls lined along the right had side to listen for sounds. Sure enough, there was clicking that went faster as I gained speed.. Bad wheel bearing. Time to jack up the car yet again and have new bearings pressed in. Took off the hub and decided, this would be the optimal time for new brake shoes. Also, while my car's up on jacks, I might as well do what I wanted to do before, to shorten the LCA.
Can't wait to get some seat time in this thing once it's all back together with a proper alignment.
Time to get this 2 ton ishtbox back into working order.
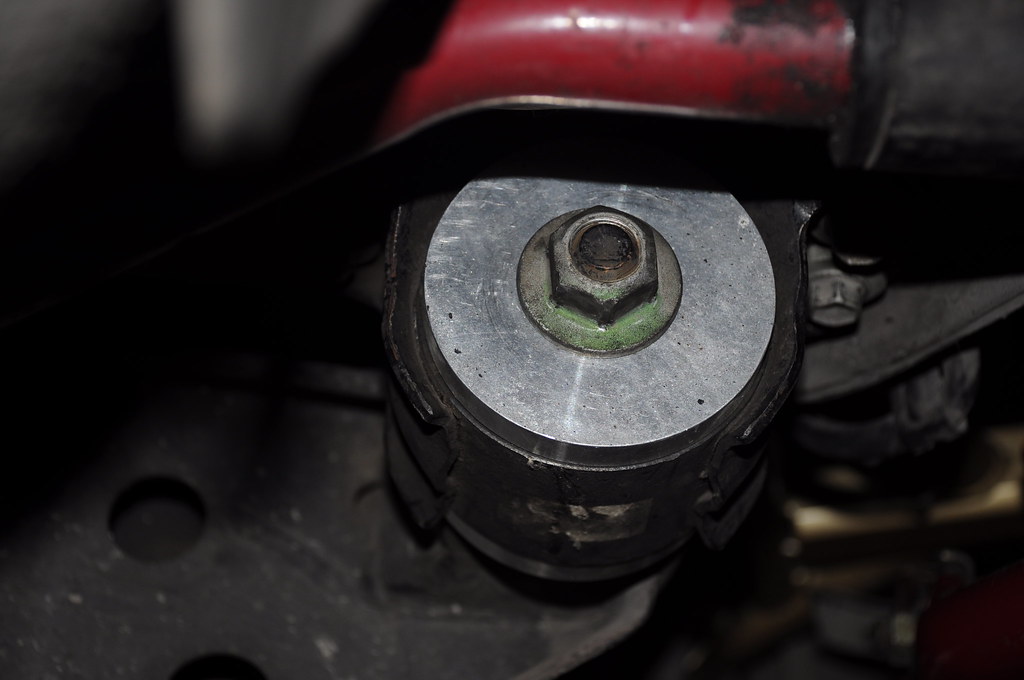
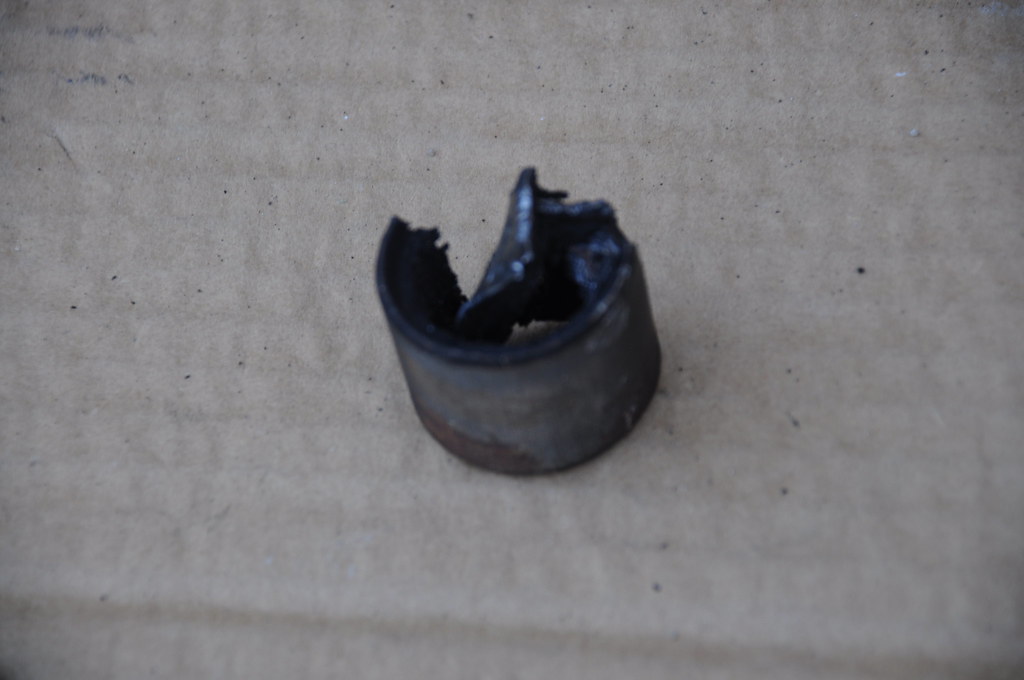
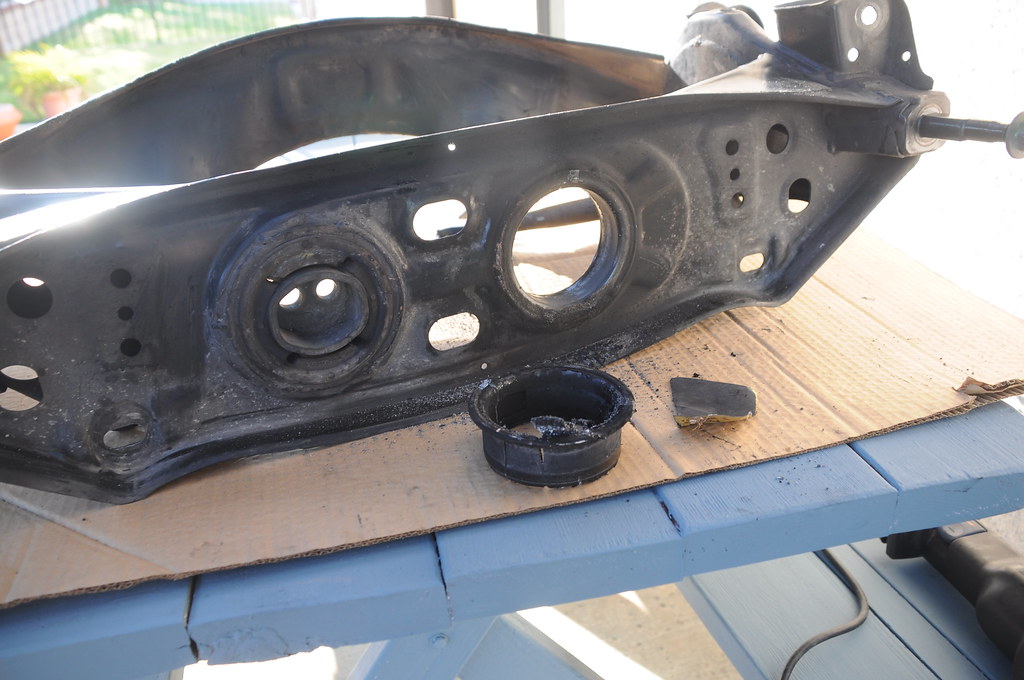
So, my subframe sits alone in the backyard with a cracked rear diff mount and no arms attached to it whatsoever. While replacing the first diff mount that had cracked, I took a closer look at my subframe and noticed that the rubber in the other diff mount was beginning to show its age. Instead of leaving it alone and risk having to drop the subframe sometime soon in the future, I decided that it made more sense to take care of it now. I ordered a new diff mount from the dealer and replaced it using the same tactics as I had used on the other diff mount. I set fire to the mount while continuously pouring water over the rest of the subframe to make sure the rubber in the other diff mount wouldn't heat up and become brittle. I went to town on it with a sawzall, punched it out, and pulled out the new diff bushing from my freezer. Pounded it in like my life depended on it, and alas, I was done, though pounding it in and keeping it lined up proved to be a mission.
It's quite a bit off but I can't see it being detrimental.
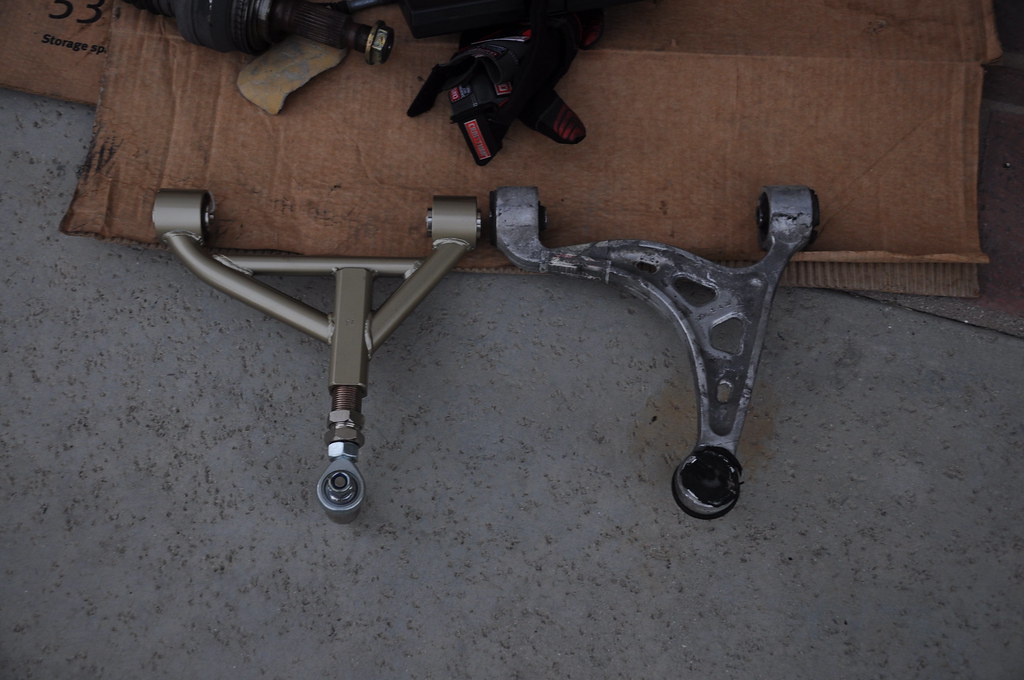
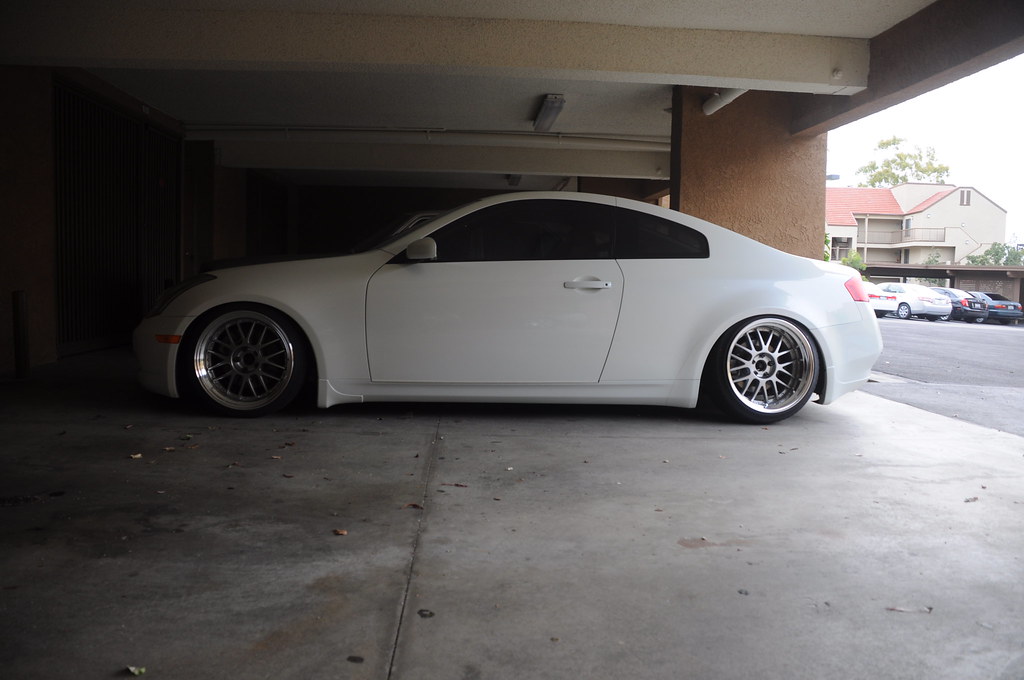
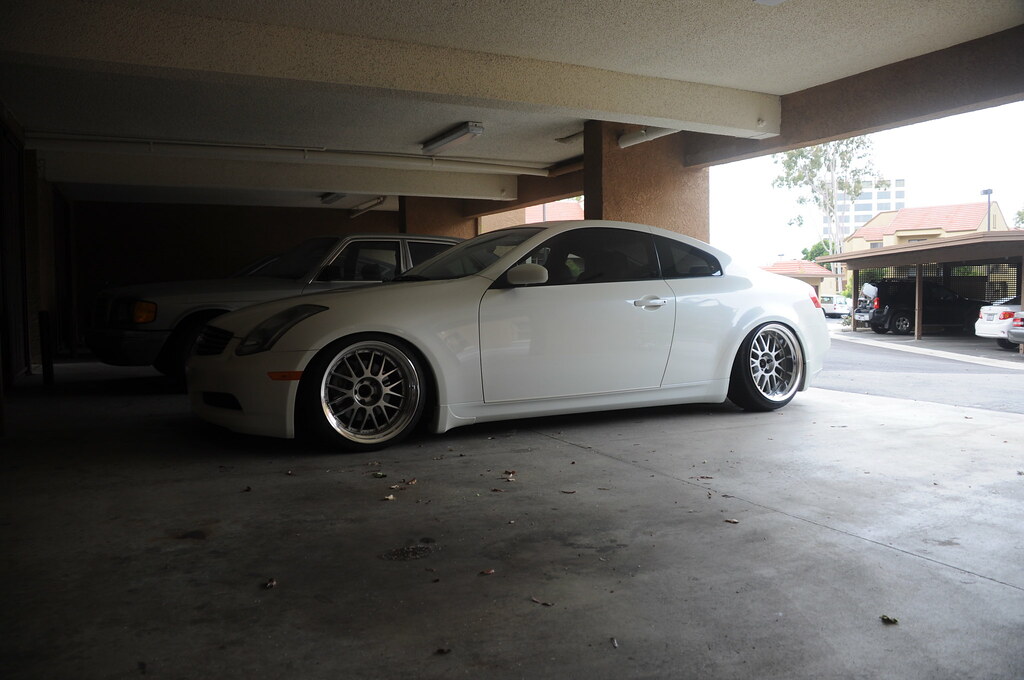
The subframe was finally done. It was ready to have stuff bolted back onto it. One problem. I still hadn’t fixed the problem of my rear camber. When all is done, I wanted my rear camber to be around -1* or -1.5*. I now realize that this was too much to ask from a stock metal sc, but I went on nonetheless. The stock arms obviously wouldn’t allow for this at the ride height I was at, so I did a bit of research, but came up with very little. There were a couple of options available, but the one that made the most sense to me was the TC Sportline uca made for a jza80 supra. They don't have the best rep because of the design, build quality, etc but it was the only route I had available to me. I do plan on doing some other mods to the rear suspension to attain the alignment that I want, but this was a decent starting point.
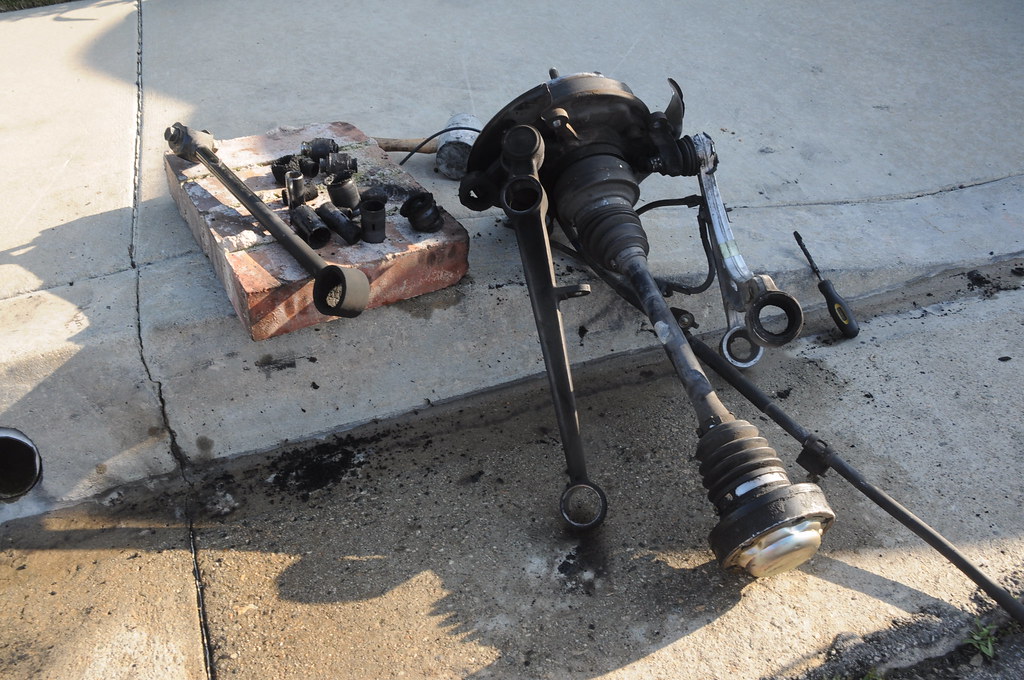
I broke loose both axles using a giant hammer to pound them out of the hub to gain clearance to pull the upper control arm off. I bought the aforementioned pair of adjustable rear upper control arms for an MK4 Supra off a fellow CL member, though I did have my concerns. I was worried that it wouldn't fit because I had heard the upper control arms for the supra and sc weren’t interchangeable due to the different subframe designs. I ordered it nonetheless because I figured that if they were all that different, only a bit of tweaking was necessary to make it fit. This isn’t to say that I was confident at all. I was pretty nervous, but also extremely anxious to get my hands on them to test fit and hopefully install onto my subframe, taking me a step closer to a running car.
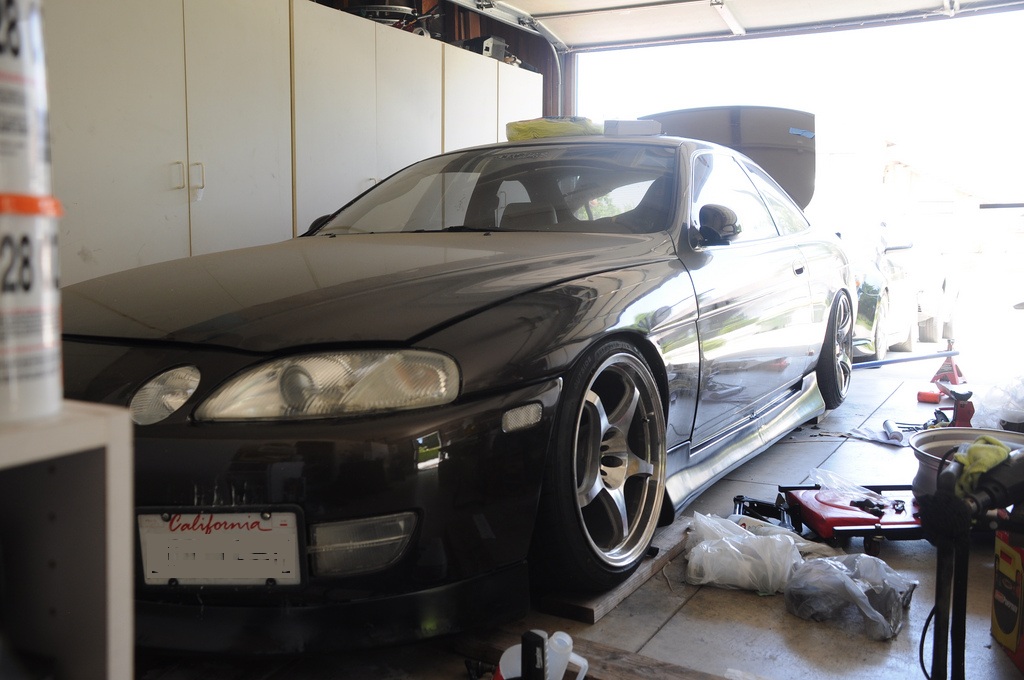
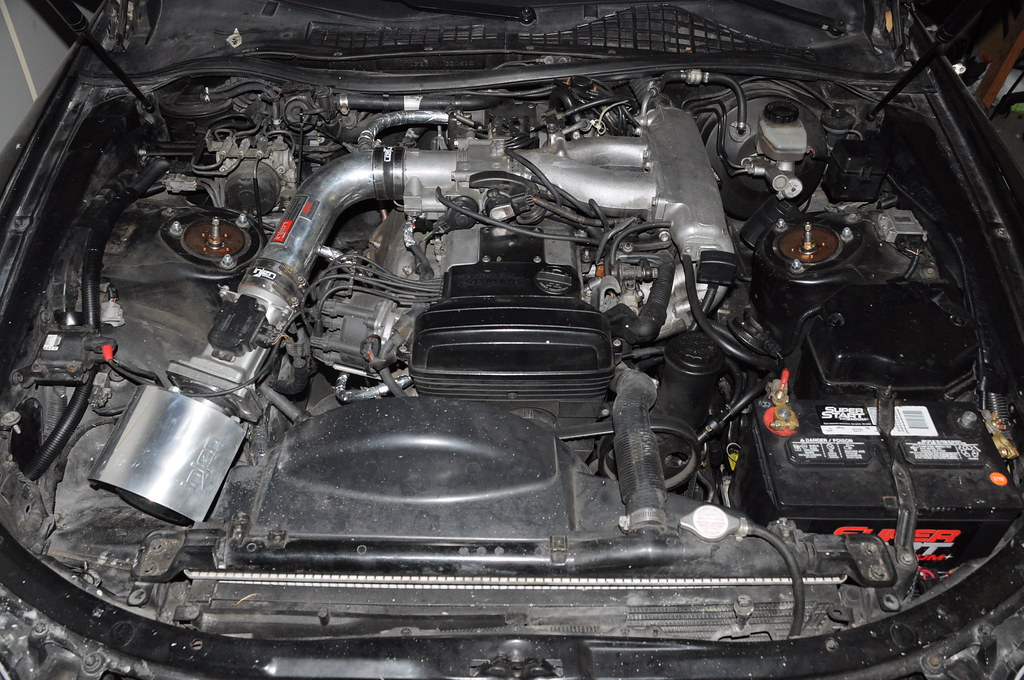
As I waited for the arms to arrive, I did a bit of tidying up in the SC's engine bay. Vacuum lines that ran through the exhaust side of the motor were foil wrapped for heat protection. SRS wires for the airbags were extended using 18gauge wires, solder, and heatshrinks, instead of having yellow looms and connectors just hanging around in the engine bay. Wires were cleaned up into new plastic looms or wrapped in electric and foil tape. Also took out the cruise control module thing since I have no use for it with my Nardi wheel. Saved me a whole 3 lbs.
peek my insanely bone stock engine bay.
tiara on a turd:
The evening the UPS tracking for the TC Sportline arms updated as "Out for delivery", I rushed home from work, only to come to, what seemed like, a vast open space of nothing at my doorstep where a box should be awaiting my arrival. I went inside and ransacked the whole house thinking that my sister had brought it in with her. Minutes later, I hear the loud roar of an overused diesel, followed by the gut-wrenching crunch of an abused transmission. A brown truck then pulled up and stopped abruptly, only to let out a driver who was obviously in the biggest rush of his life. He dropped off a big box on our doormat and only a few seconds passed before I heard the poor truck roar back to life and speed off. This was at 7pm.
I ripped open the box and took the arms out and ran to the subframe. Perfect damn fit. There was a bit of play between the bushings and brackets on the subframe, but bolting it up squeezed the brackets together.
Forgetting I hadn't had single bite of food that day, I went to work, reassembling my subframe with the parts I had.
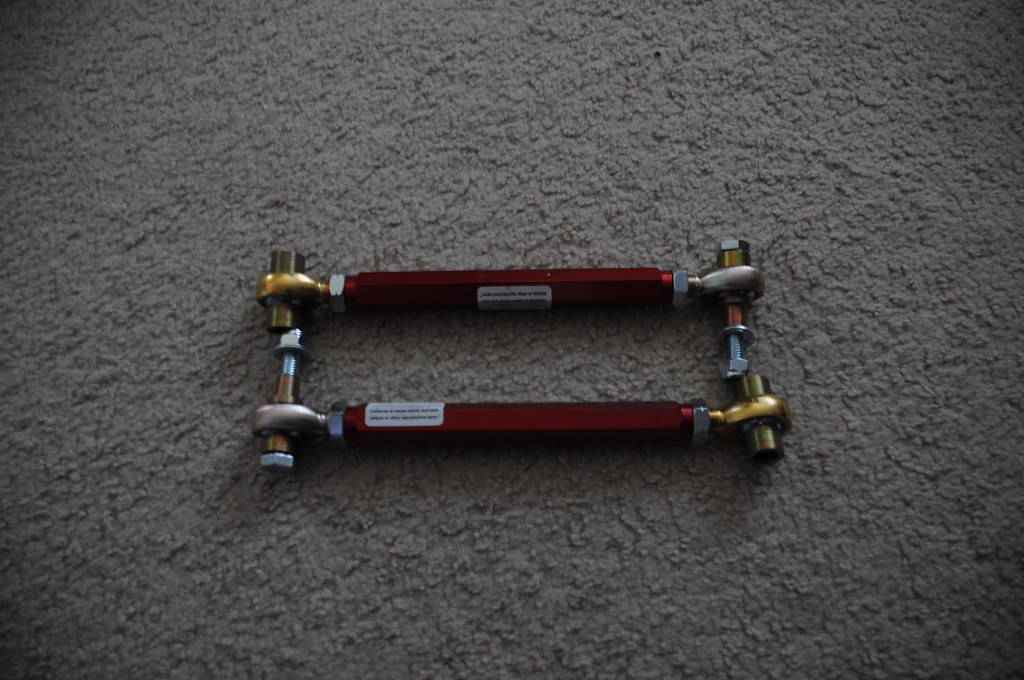
The axle got bolted back onto the diff. Axle was passed through the hub and bolted in. Traction rod, bolted in. LCA, bolted in. Then came the confusion. I have little experience with aftermarket arms, so I had little clue as to what was going on. To top it off, these arms come with no instructions. My confusion cleared up once I figured out that the bolt going through the rod end didn't have a lip, instead was just a washer that was stuck onto a spacer. I took the bolt apart, threadlocked it, and tightened it down. Got some lithium grease and soaked the insides of the bushings and slid bolts through the bushings and attached the rod end to the hub. I went back inside for a drink, only to look at the clock and realize that it was already 1am, and here I was banging away and dropping tools while everyone struggled for their nightly sleep. Went back out to attempt a quiet cleanup, but first took a step back and became overjoyed that the parts that had been lying around separated in my backyard for the last 4 months were now back together. Only things missing were the toe rods and subframe bushings that would get picked up the next week.
Fucking done. for now.
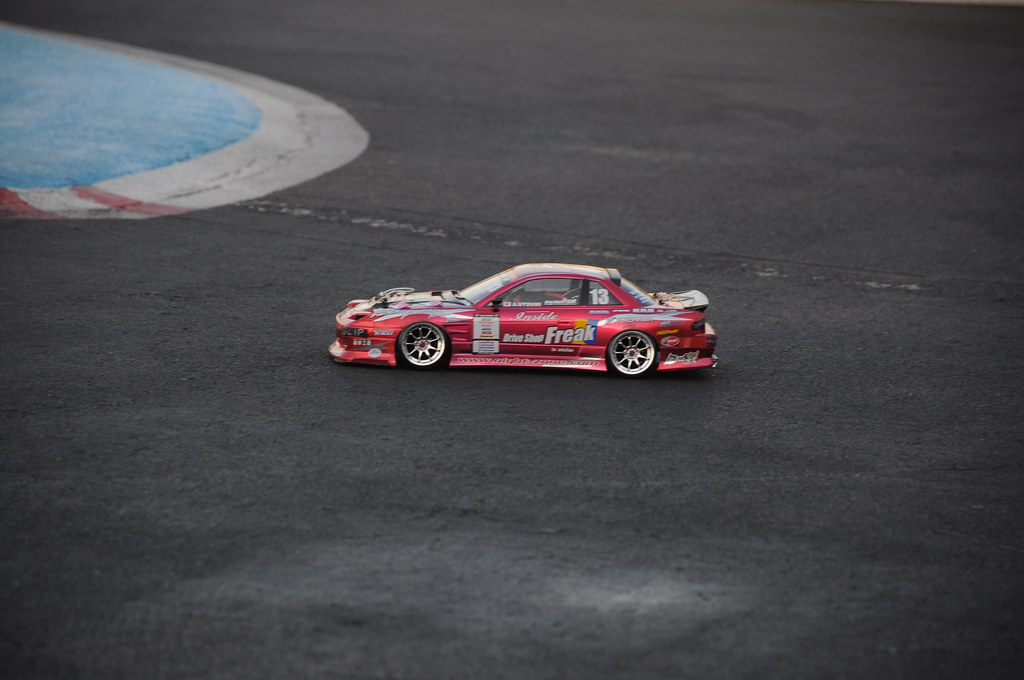
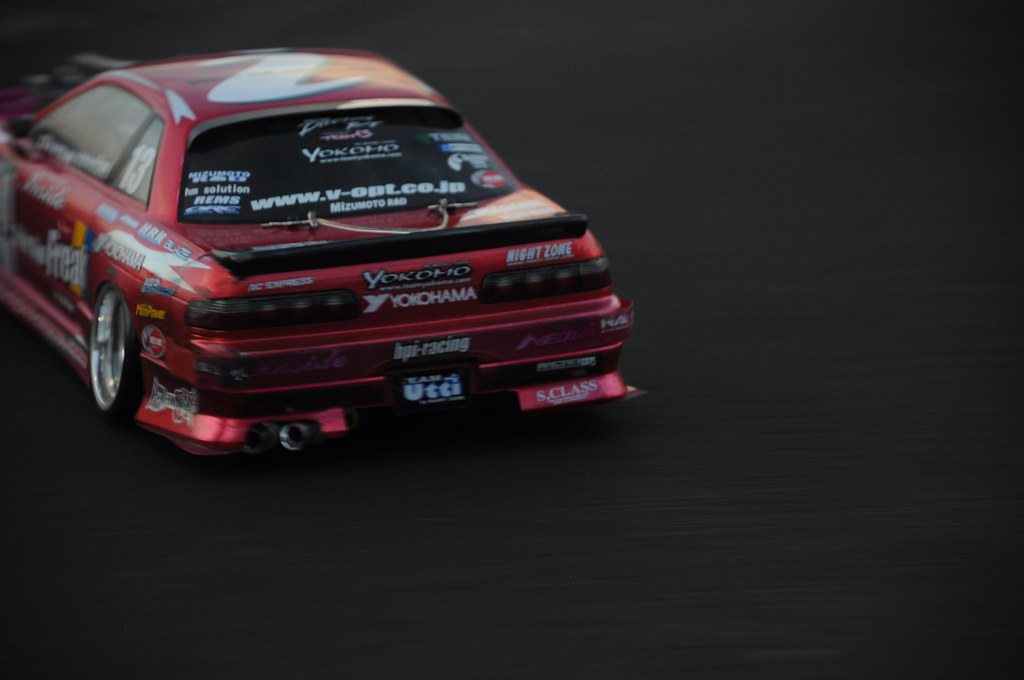
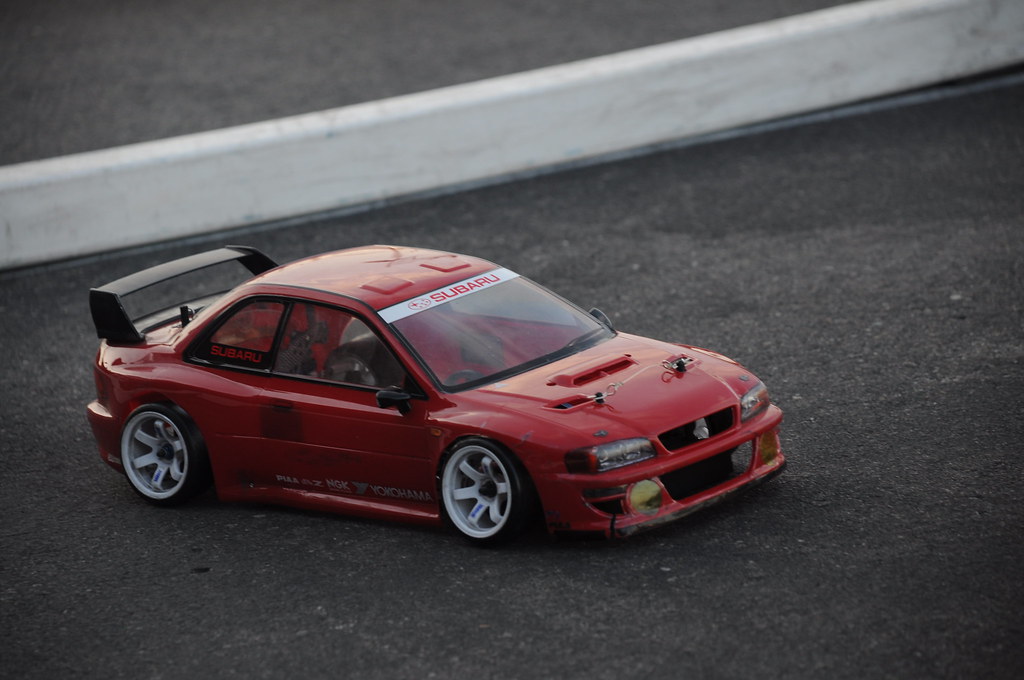
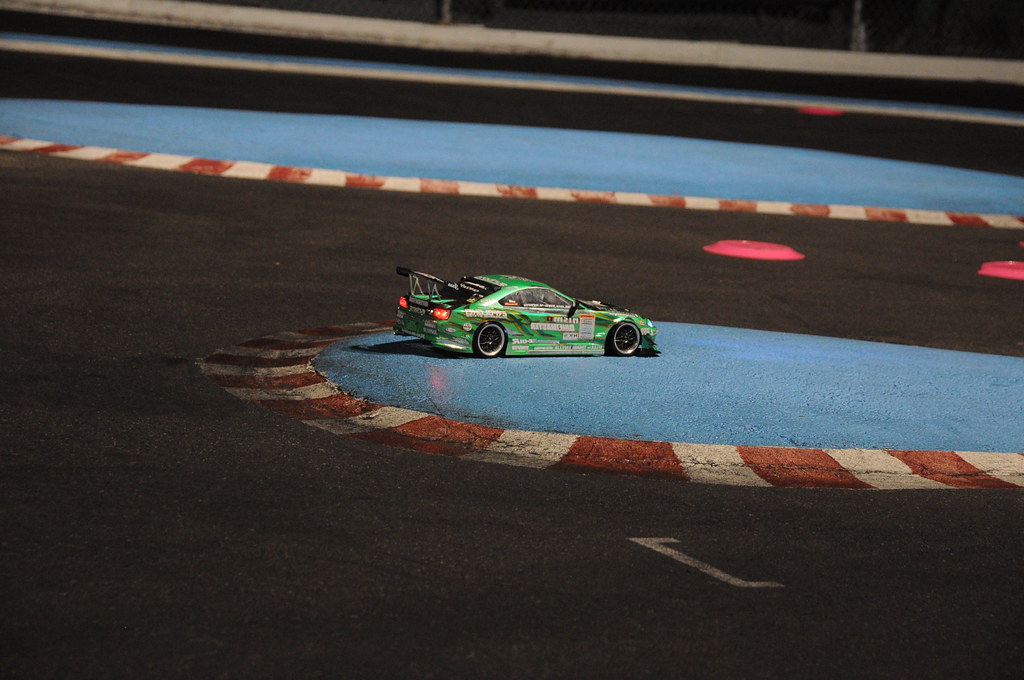
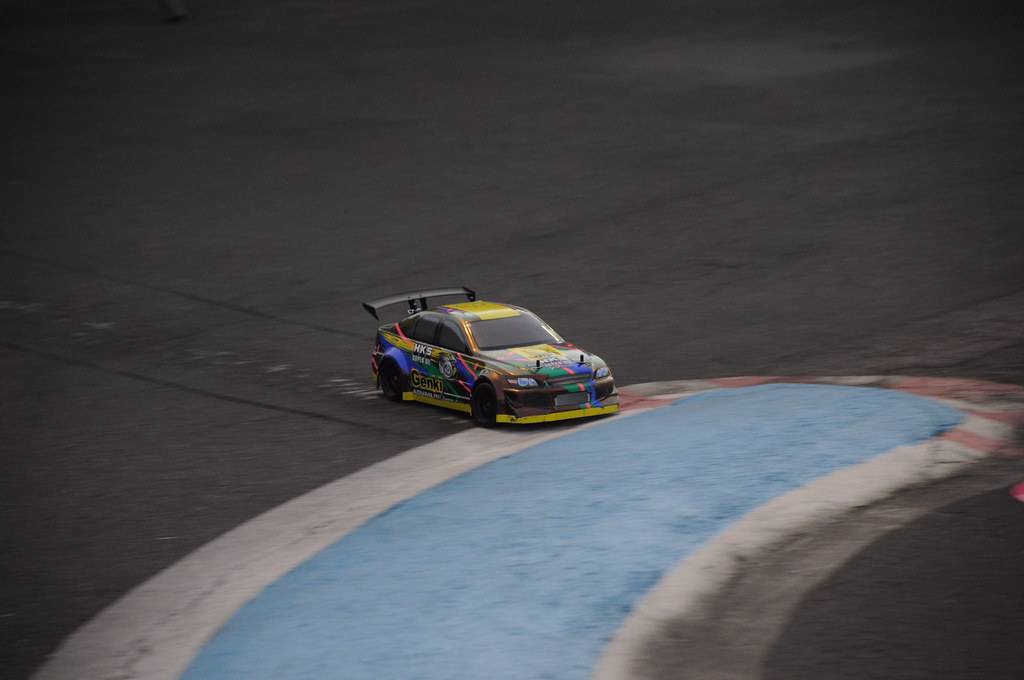
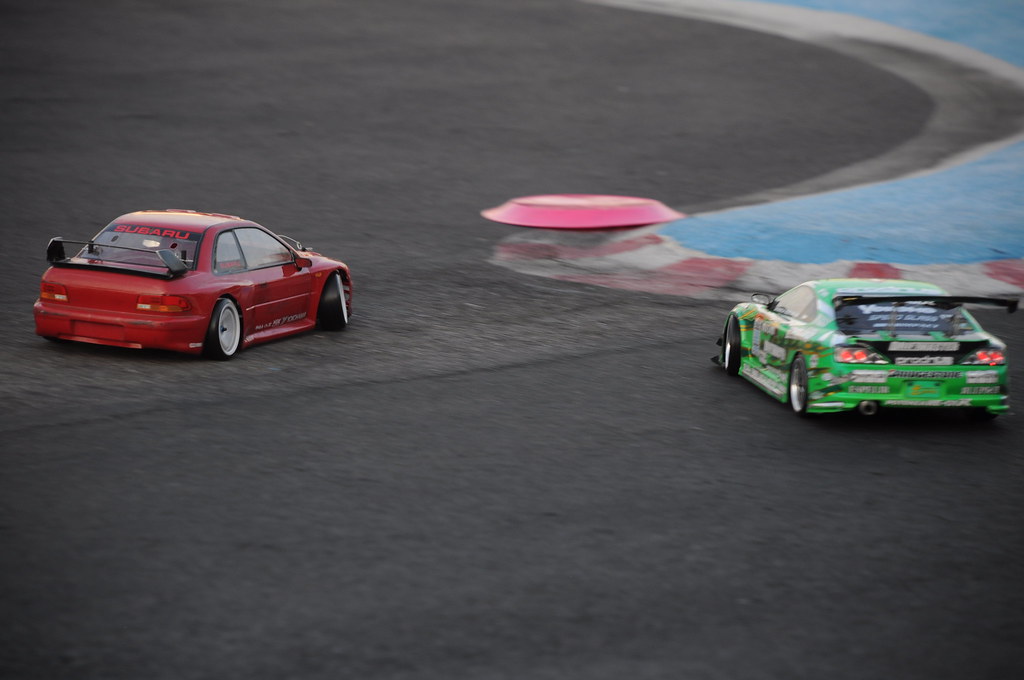
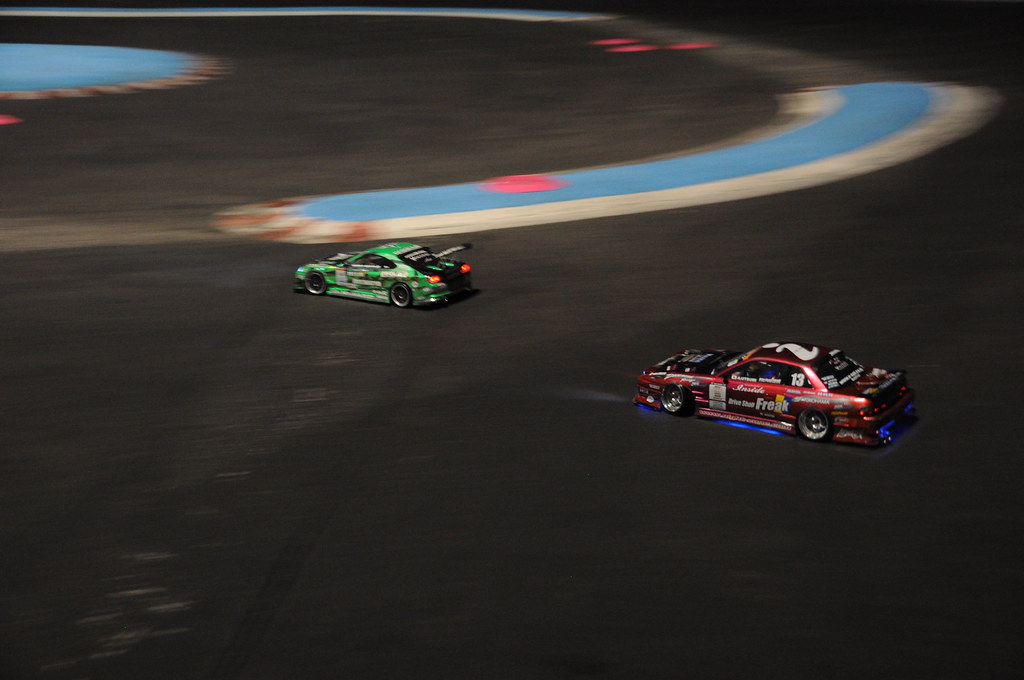
Went to a weekly r/c drift thing, took some pics as I waited for my battery to charge since I had lost my other battery. turns out my dad had hidden it under boxes.
As for the SC, an old bride zeta III is now in my possession. Also, new diff cushion has been ordered to replace the other rear diff mount and fenders have been shaven flat. Should be getting the rest of the stuff at the end of this month or next month depending on what I plan to use money on. Lowered the fronts back onto the floor because we needed the jack stands to work on a friend's civic, and saw about -3* camber up front. I'm in love with front camber these days.
Finally put my r/c off to the side and put in a bit of time to finish up the SC's rear suspension. The plan is to get all the stock rubber bushings out of the suspension arms, replace rear diff mounts, get bver toe rods and subframe bushings and install them, along with a welded diff.
So far, I have been able to remove the stock bushings from the lca's and the hubs where the traction rods bolt up. The lca's were a simple torching job, but the hub required to first get the rubber out with fire, and then a cheap Harbor Freight reciprocating saw to cut the sleeves that gets left inside the bore. I cut into the sleeve in a couple of places, and pried up a few portions, which enabled me to punch them out with a flathead.
Went ahead and pressed in new polyurethane bushings into the hub after all that was said was done
Now that the arms were done, I started planning out my strategy to tackle the diff cushion/mounts. My plan was to use metal plates, bricks, and a big bolt to, in a way, pull the bushing out of the housing, unfortunately, nothing i could find around the house was the perfect size to get the job done. Went to lowe's to browse around and found plates, but as we later found out, were a bit too thin for the enormous amount of force that was needed to brute the bushing out.
I gave up on my fancy plans and went with the skills that had been perfected doing the arm bushings; I set them on fire and cut into the sleeves to loosen up the bushing inside the housing just enough to punch it out.
Threw the new ones in the freezer to contract the metal a bit and slammed them in with a deadblow. Then comes the time of the build where I play the waiting game to save up even more $$$ to enable the splurging on even more things. Still trying to decide as to what my ruca situation will be, whether I keep them stock, replace the bushings with a camber correction kit, or just to save up for adjustable arms, since my ultimate goal is to attain close to 0* or -1* camber in the back at my ride height. Aside from that, I'm also planning on picking up bride zetas along w/ the solid subframe bushings and toe rods.
Then comes the work I'll have to do on the lip kit and wing to make the car look just a bit more aggressive. The fronts and sides are fine, but my rears are not.
b/c I'm completely losing interest in cars.
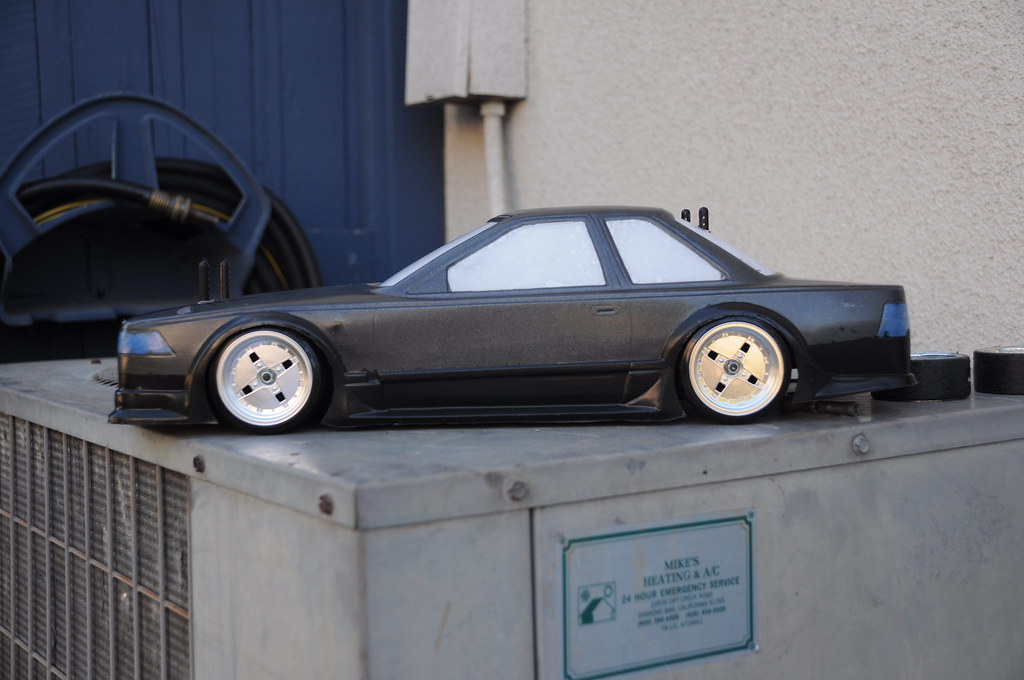
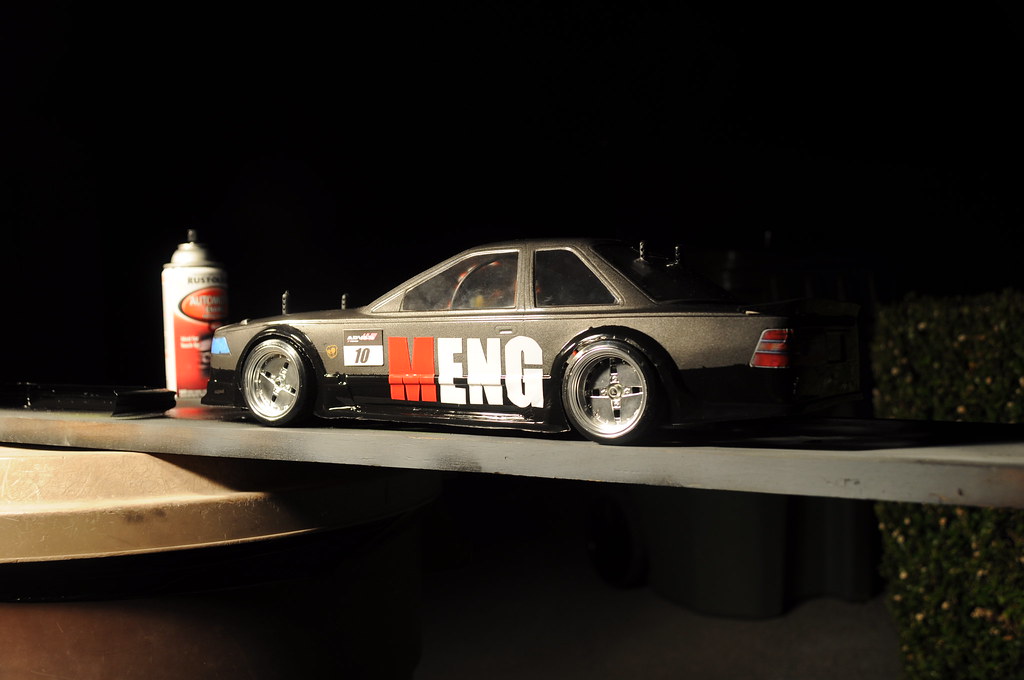
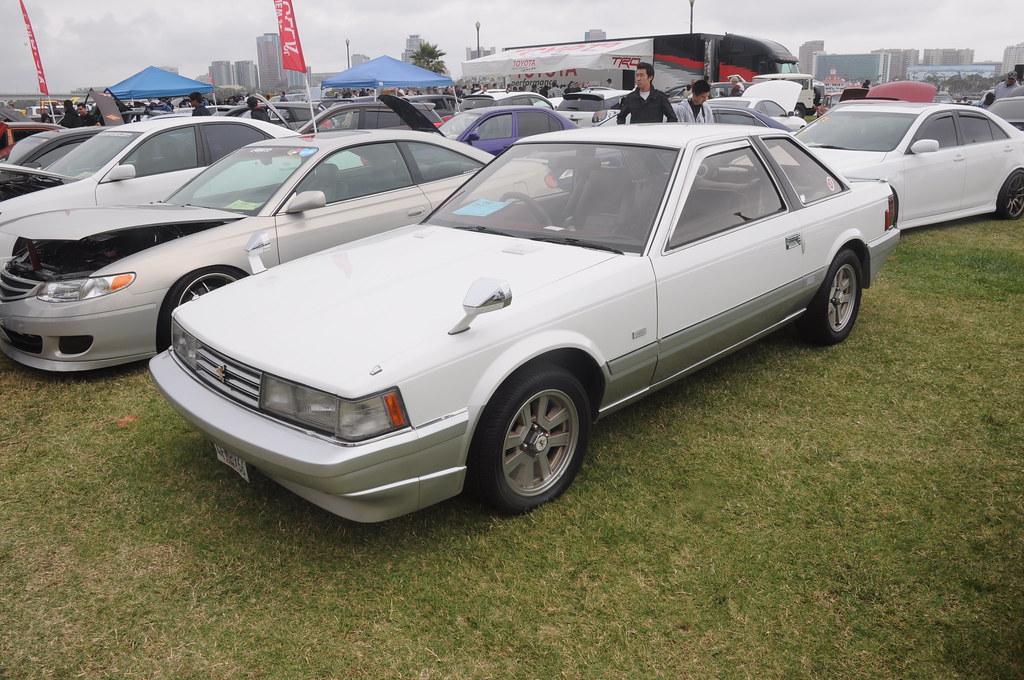
painted my z20 soarer body
Then threw on some home-made stickers for an uber-awesome dorifuto look.
Still need to put the front bumper on.
then painted my other body for shits and giggles
now I could actually see my car at night.
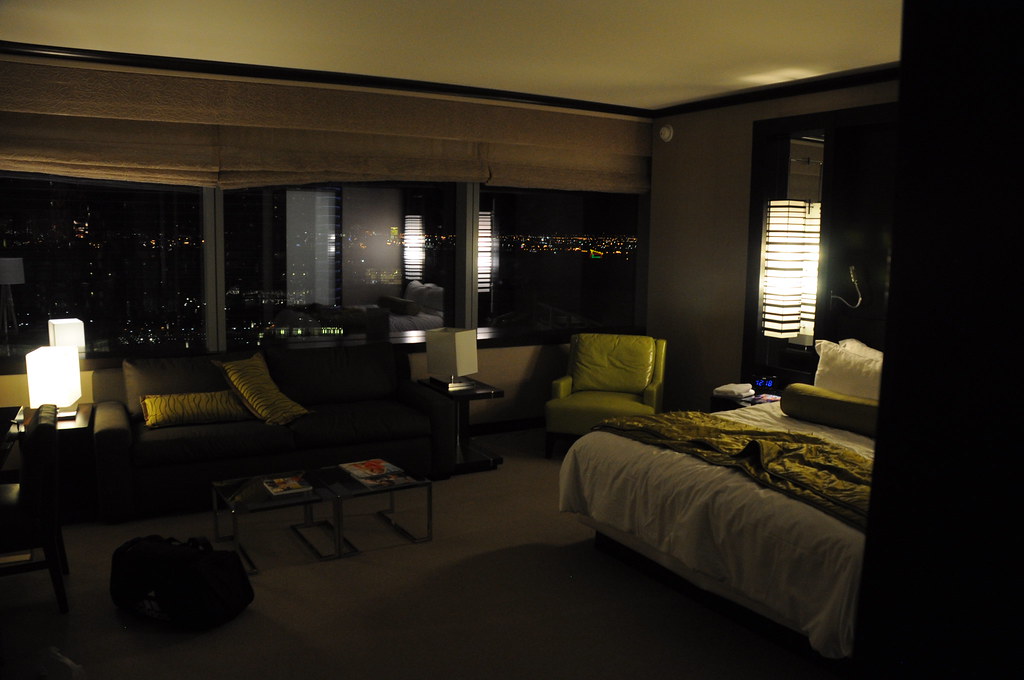
the quarter is over and I am officially out of class for-friggin-ever. Finished my last final on thursday, went out to my car and drove it to the roof for a tiny little photoshoot since it'll hopefully be the last time it'll ever step foot in UCI territory ever again. Then went to work the next day, and left for vegas that night. got to our hotel around midnight-ish
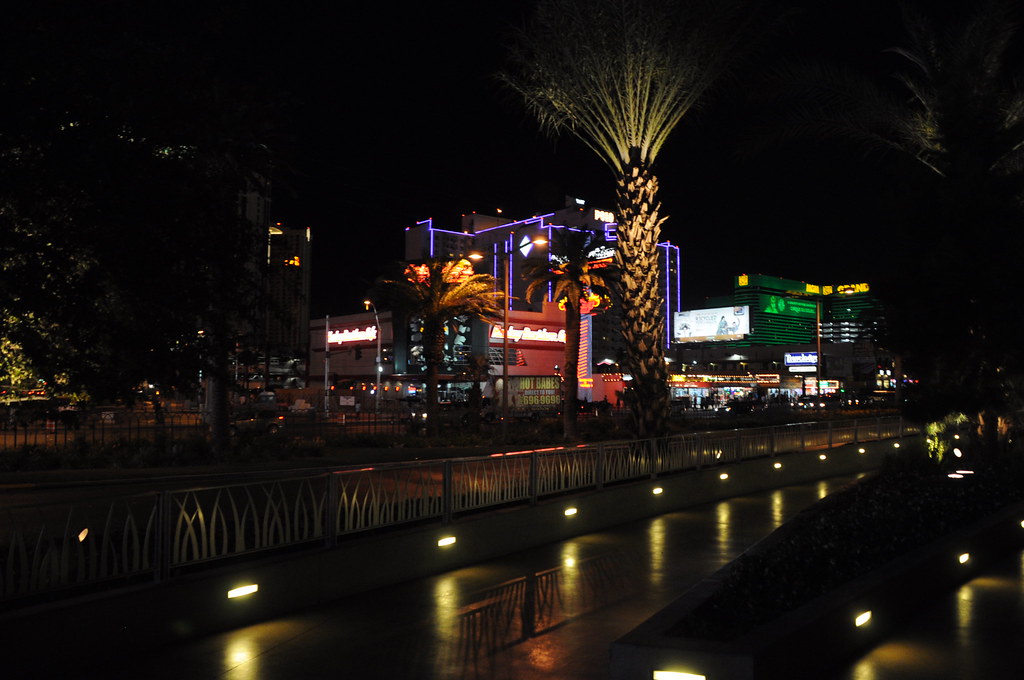
Was dead tired from the lack of sleep during finals + work earlier that day + the 4 hr drive, but decided to head out to the strip with my friends and tourist it up.
Didn't get a pic of the bigger yardstick that about >2x as tall. took forever to finish b/c it was so ridiculously sweet.
now to find time between work to prepare my new r/c shell and get to work on the damn SC
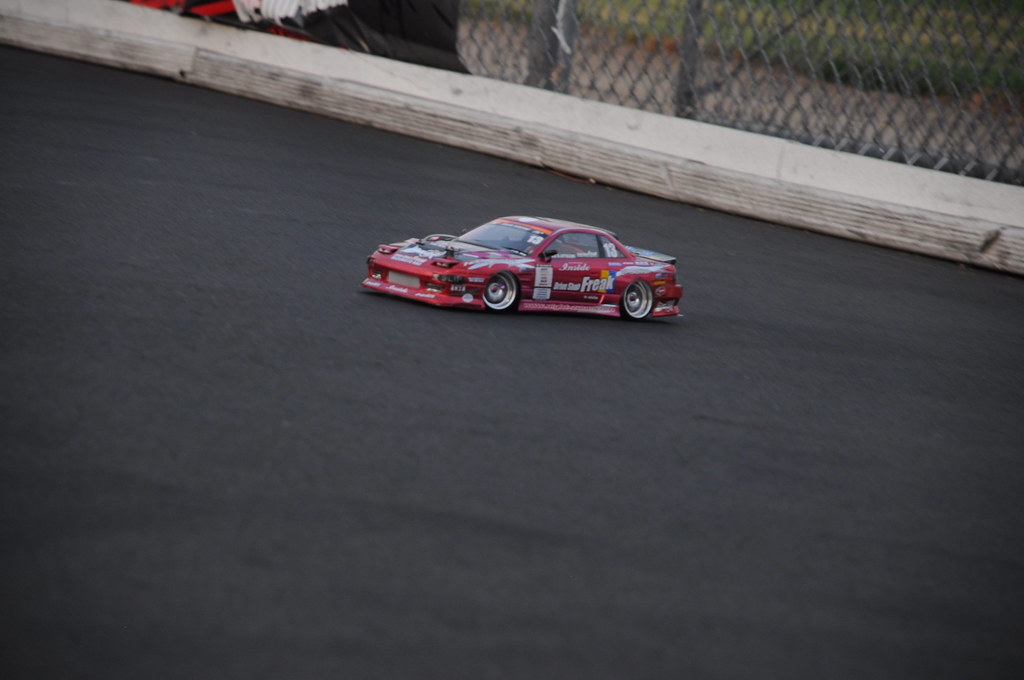
as my expedition through this horrific quarter goes on, I've done a tiny bit of car stuff. mainly consisting of me going to toyotafest and not paying much attention to cars. Thank god for HPI, their generosity, and their mini r/c drift track that they set up there which is where I spent about 3 hrs cycling through numerous batteries..
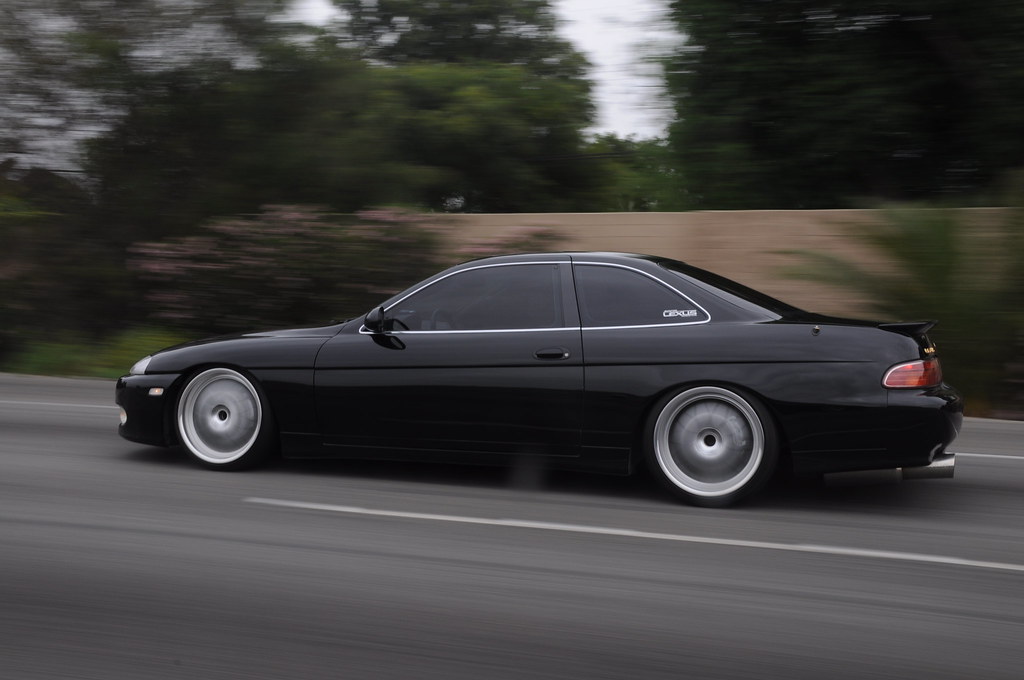
On the way there, took some pics of Brian's car from Wes' car
I need to fix that smudge thing that's going on...
Some of my favorites from yotafest
And my ultimate fave <3
To my confusion, I found out the next day that it won 1st place in the camry/solara class. I find that highly offensive towards this gem of a soarer.
And, I've been going across the street from the parking structure I park at for school after my last class for the past couple thursdays to help out a friend install a couple things onto his car to look make it look a little more awesome. It still needs a good amount of fine tuning, but I can see huge potential in this setup
Nothing too crazy, but simple and nice.
slammed on some kinda stance coilovers with some kinda ssr's.
i THINK, stance GR+ and 19x9.5/11 -6 SSR MS1's with ichiba rear camber arms and toe bolts. Again, i THINK. I don't really pay attention to parts, I just like to throw them on.
pulled quite a few looks since that is exactly where we worked on the car for hours on end. even had a couple car dudes and a imports@uci president or something walk over to talk w/ us. 'twas a nice stress reliever.
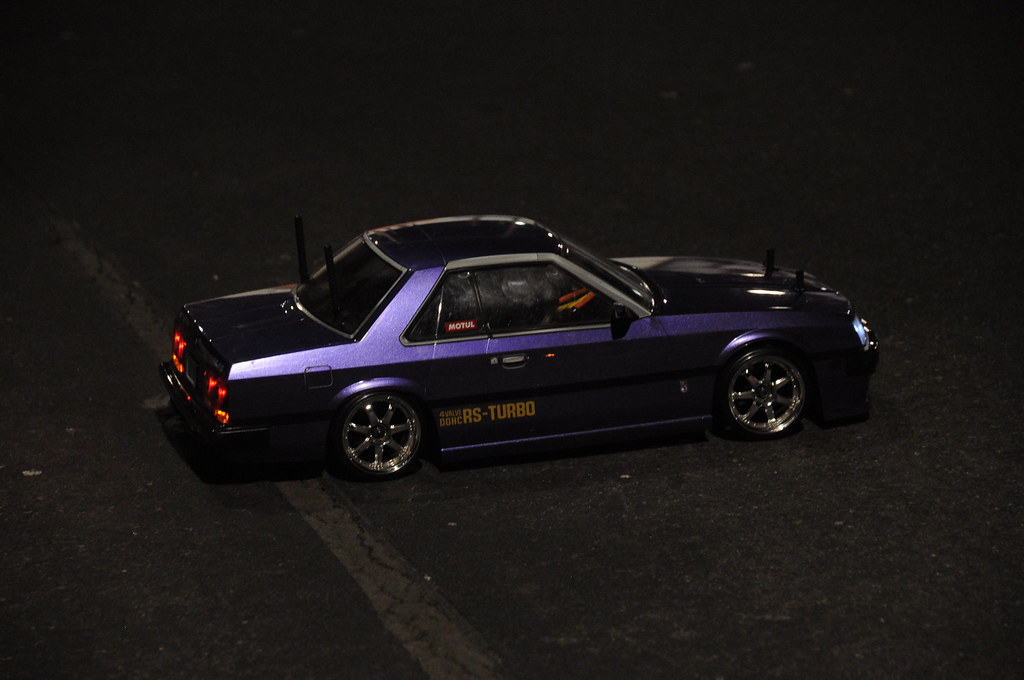
Seeing as school's been especially a pain in the ass this quarter with 2-3 papers on average due every week in addition to quizzes, hw, and midterms, my free-time has recently been limited to those activities that require very little effort/energy/time, which narrows it down to my r/c. Recently ordered a new set of more aggressive wheels. I'll soon be ordering even more aggressive wheels that look semi-vip style to go w/ the odyssey body i just got and trimmed out. once I get it painted, i should have ordered my next batch of r/c goodies, that include the aforementioned wheels, rigid rear axles, and 1way diff, along w/ actual drift tires, and not the abs pipes i've been popping on and off of my wheels.
I've also gotten my older r/c w/ a simple brushed setup and AM tx/rx to work pretty well at drifting, w/ a glued rear diff to lock it and a front diff that I tightened up after smearing it w/ sticky grease to give it a 1-way diff-like function. I"ll probably be putting a sc or 86 body on it and will be calling it the drift missile lawlz.
I had to do the obligatory currency-on-wheel-lip pic to show how ridiculously ballin' my plastic lips are.
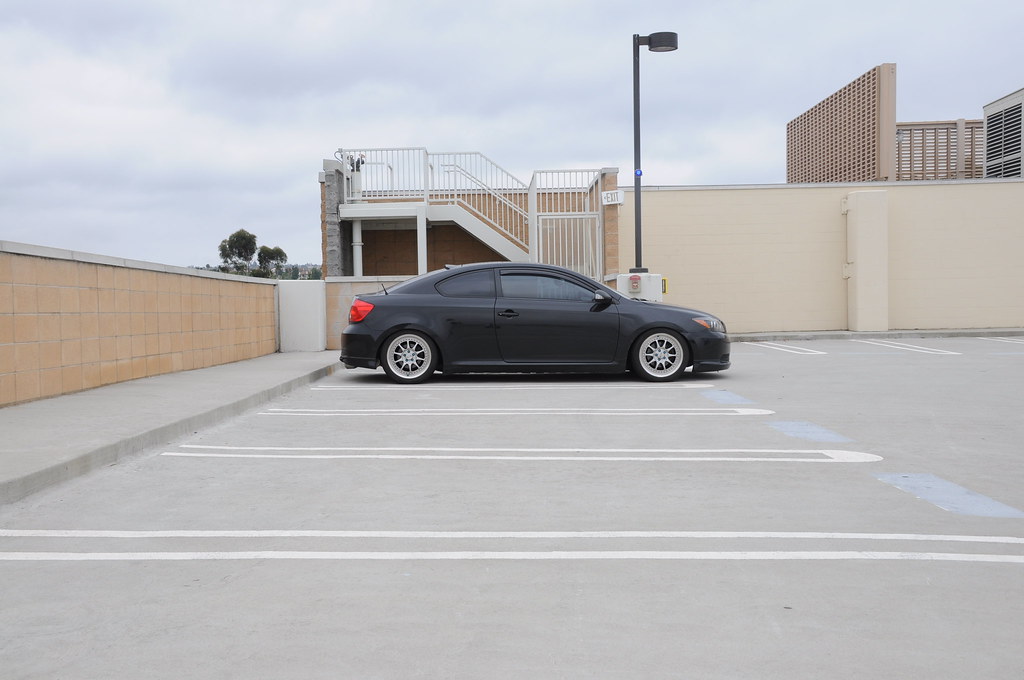
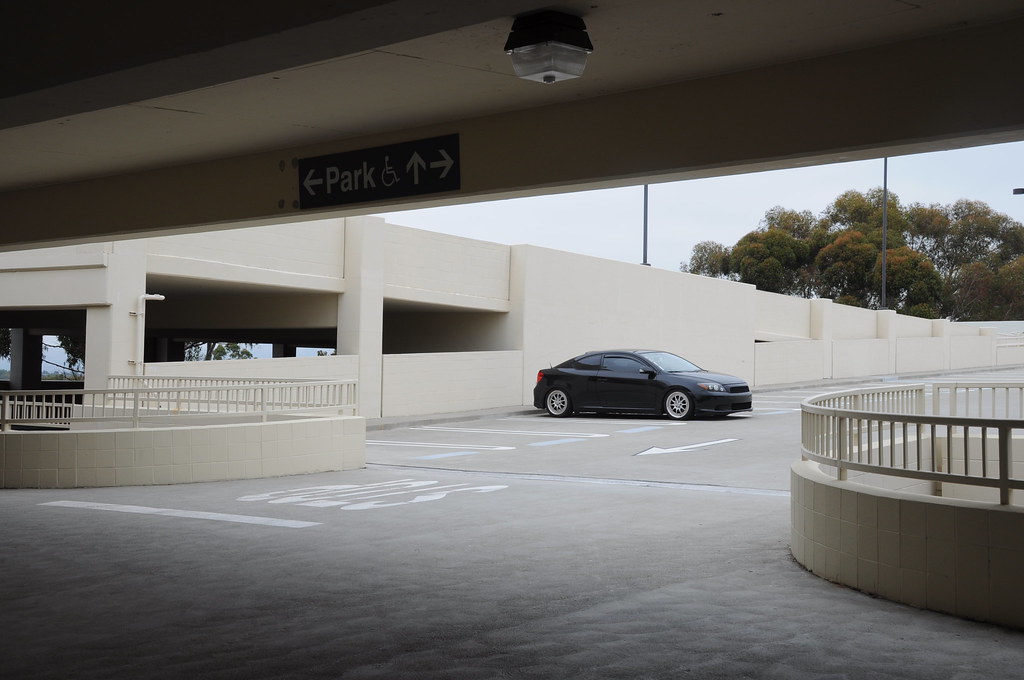
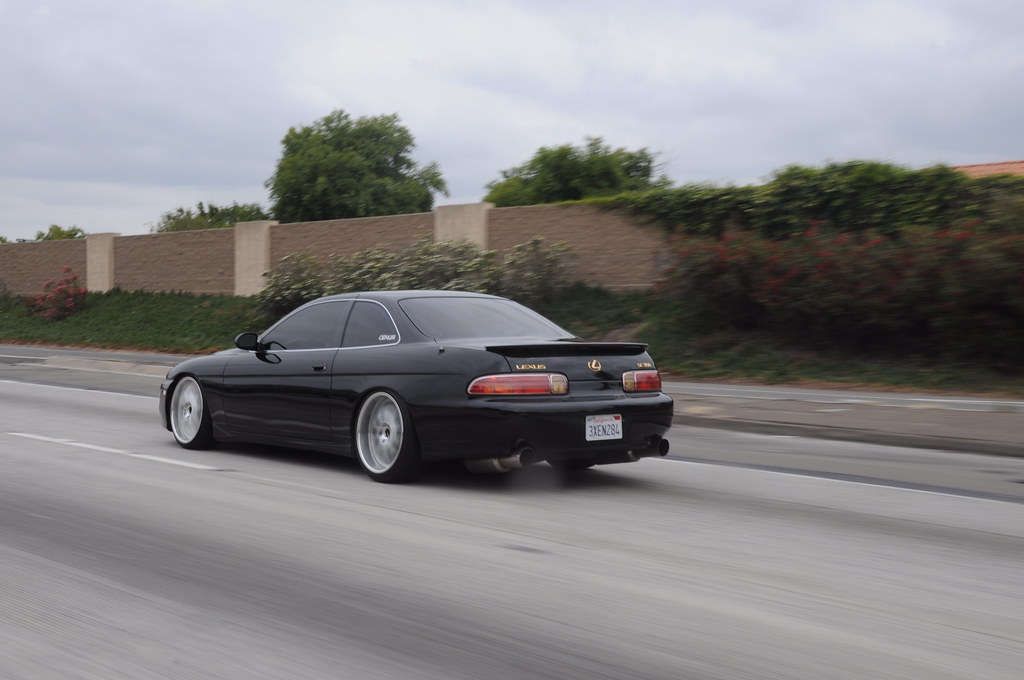
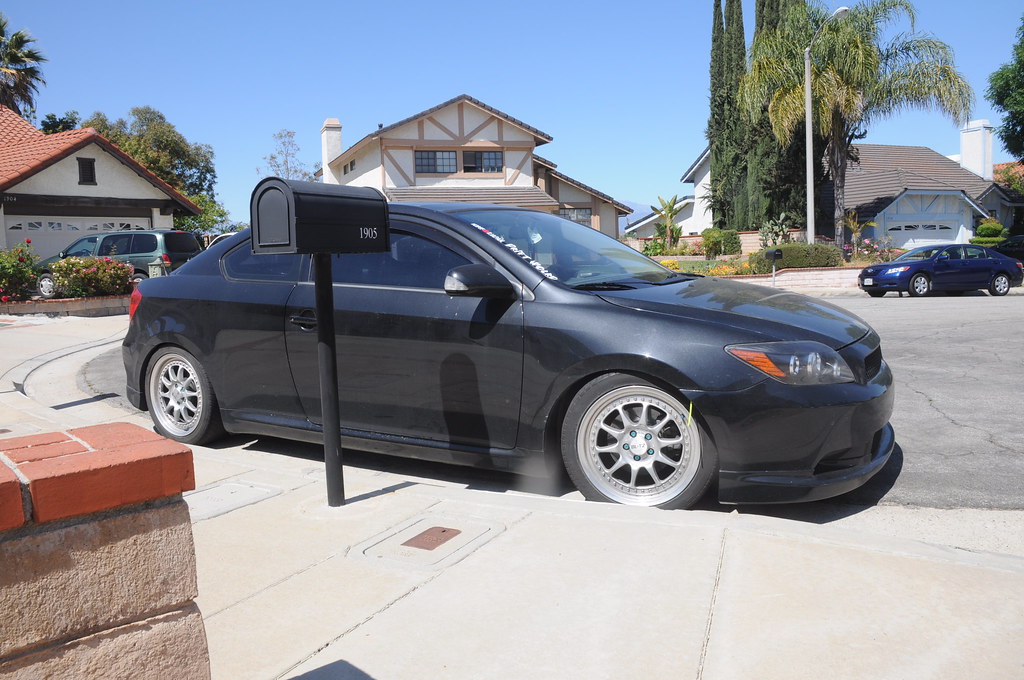
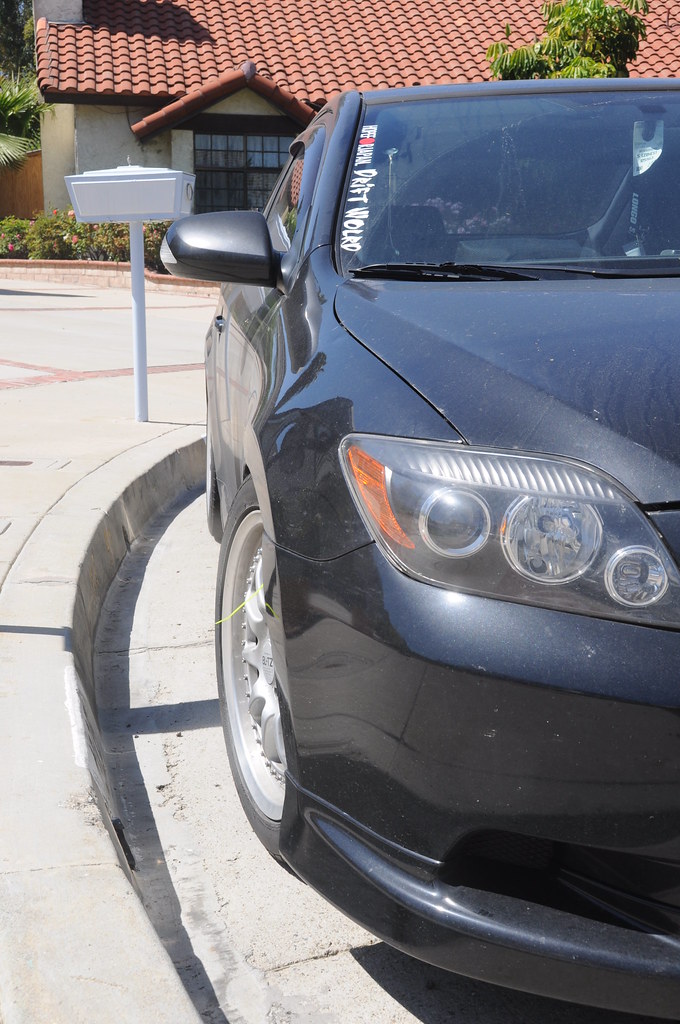
Thought I'd throw in a few pics of my dd (that i haven't washed since... about 2009?) w/ all the stickers that a dorifuto fanboy like me could ask for
And................ *sigh*
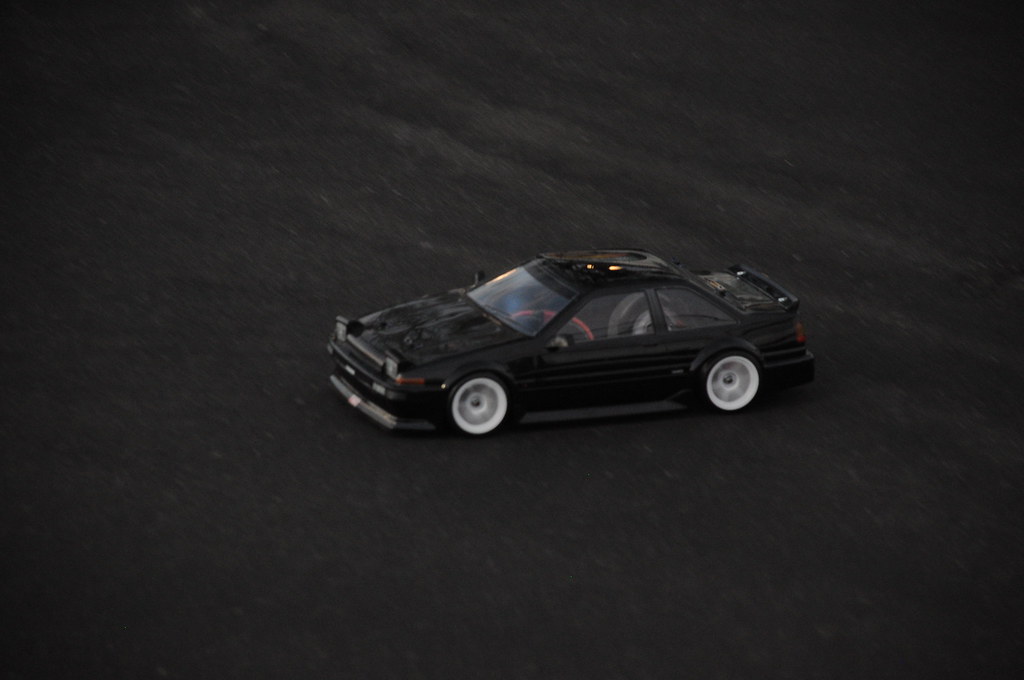
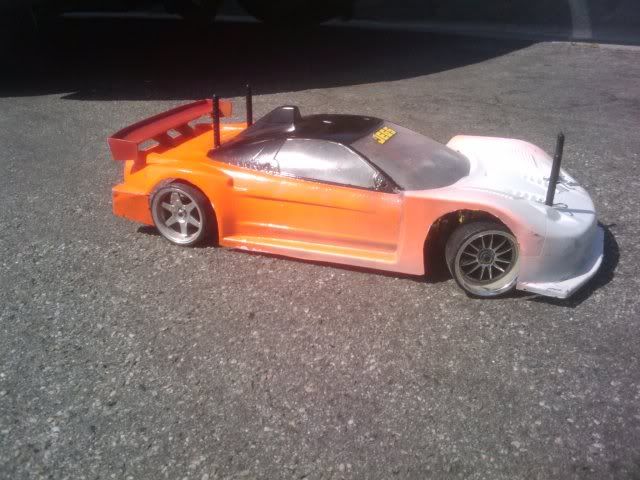
Cut up ABS piping and put em onto my newly acquired wheels. my r/c has more lip than my real car *weeps*
next up is to track down a bunch of parts that apparently blew off the poor thing during one of its violent encounters with walls, parking stumps and such. then to paint the body so that it actually resembles an NSX GT like it's supposed to.
then.. a drift conversion with Square counter drift pulley set and a rigid rear axle, and a one way front diff. cs drift here i come.
Put in a bit of work, but did it the lazy way as I didn't feel like bothering with the axle to pull the arms off the rear hub. Was able to burn out 7 bushings in total in an hour and a half, though I did successfully set my ball joint boot on fire a few times, yeesh.
LCA now has new bushings since i was able to just burn out everything, while everything else, like the traction rods, the upper control arm, and the one bushing on the hub that the traction rod bolts to, all require cutting to get the sleeves out.
|


 RSS Feed