My suspension/interior stage has pretty much finished, next up will probably be transmission and engine. My wish list atm is a Kaaz 1.5 or 2-way LSD, a new Exedy stock replacement clutch and a lighter flywheel. But before that, I’d probably do a few steering mods, as my rack needs a rebuild anyway with atf randomly driping out of the tie rod boots. So in the upcoming months, I’ll probably get a rebuilt rack, steering spacers, and even maybe a shortened knuckle for more steering angle.
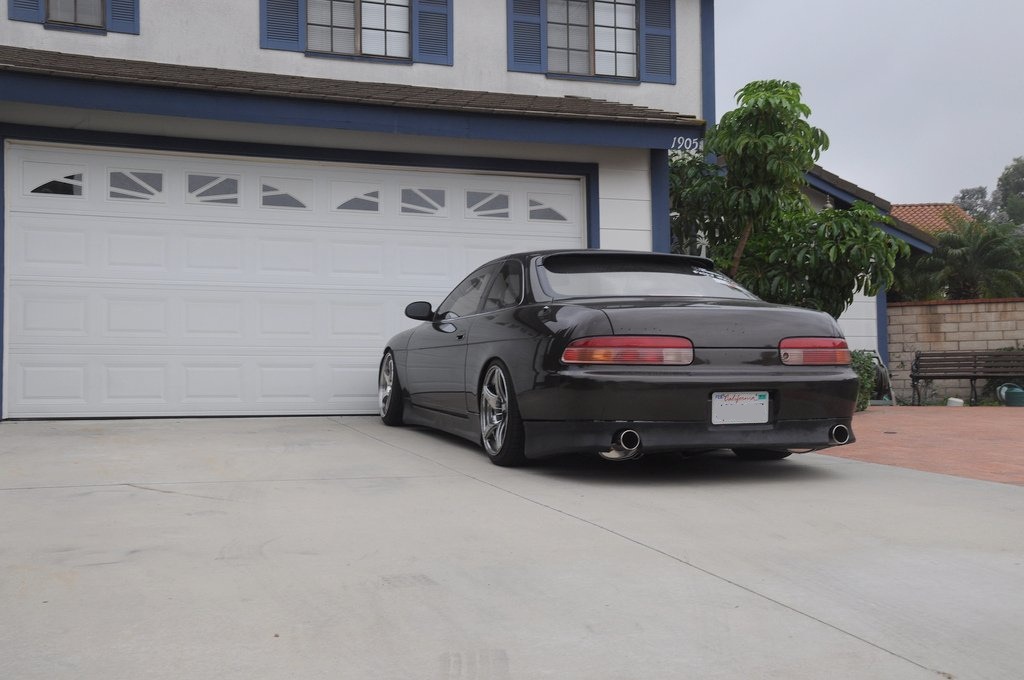
For the moment, though, the sc sat like:
For the moment, though, the sc sat like:
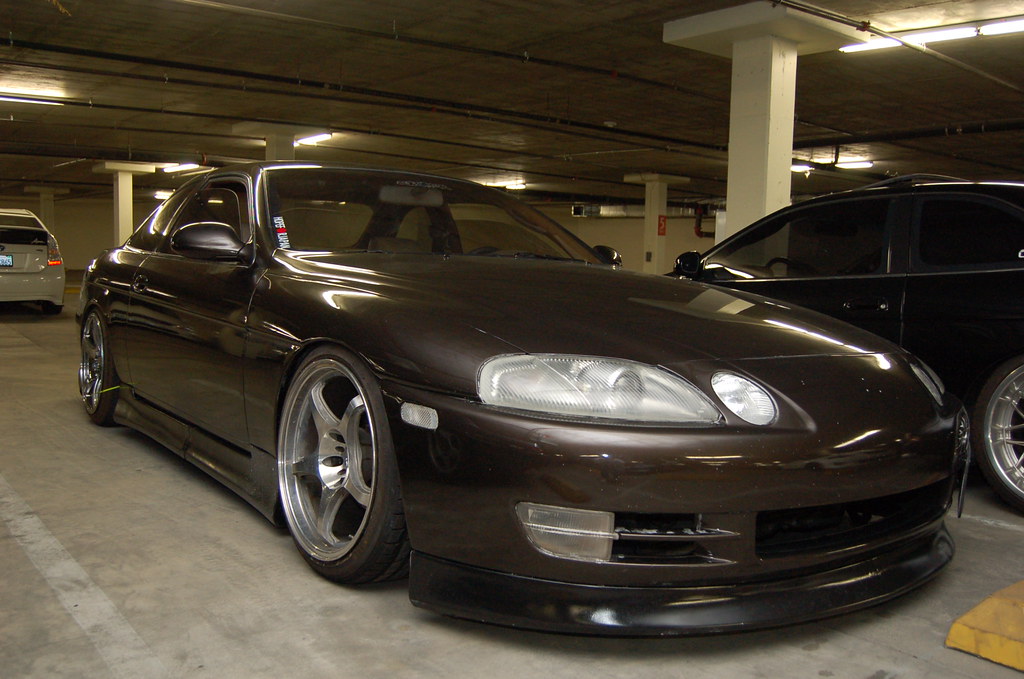
Credit to whoever shot this picture at one of the local meets.
One of the issues I had wanted to address was my rear swaybar endlink. Because of the shortened lca, the endlink was now at an epic angle and in a situation where it was just waiting for the balljoints to explode or for the shaft to bend.
So, I finally scrounged up the energy to get off my ass, pause my drift tengoku video, and head to lowe's to buy bolts, nuts, washers, spacers, etc to go with the heim rod ends that I had ordered a couple weeks ago from mcmaster.
Went from:
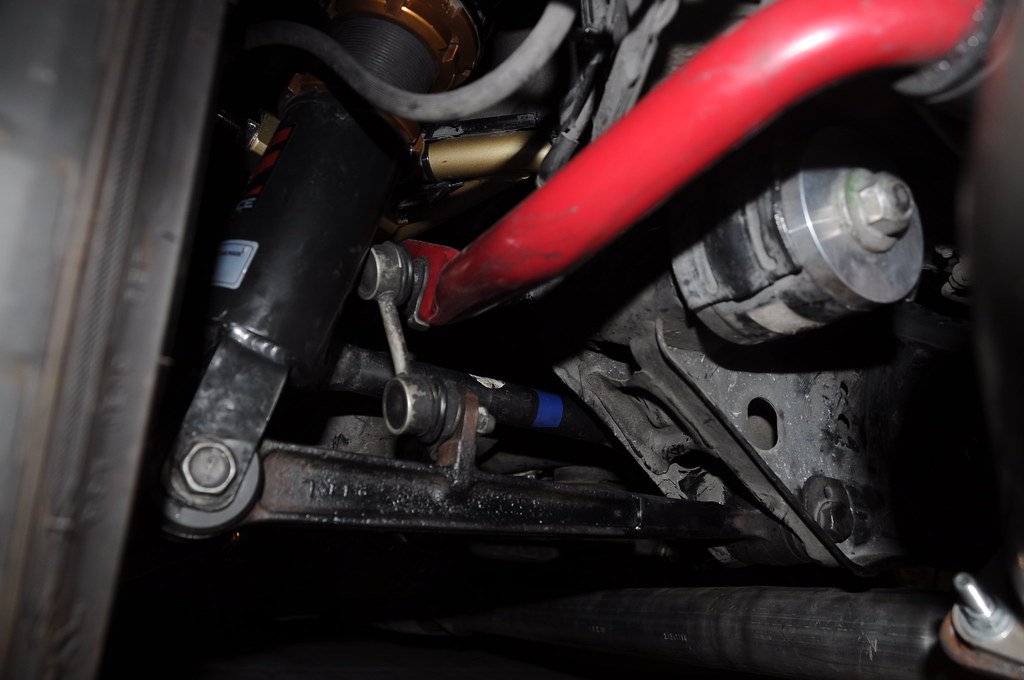
(because the top of the endlink was rubbing on the coilover)
to
to
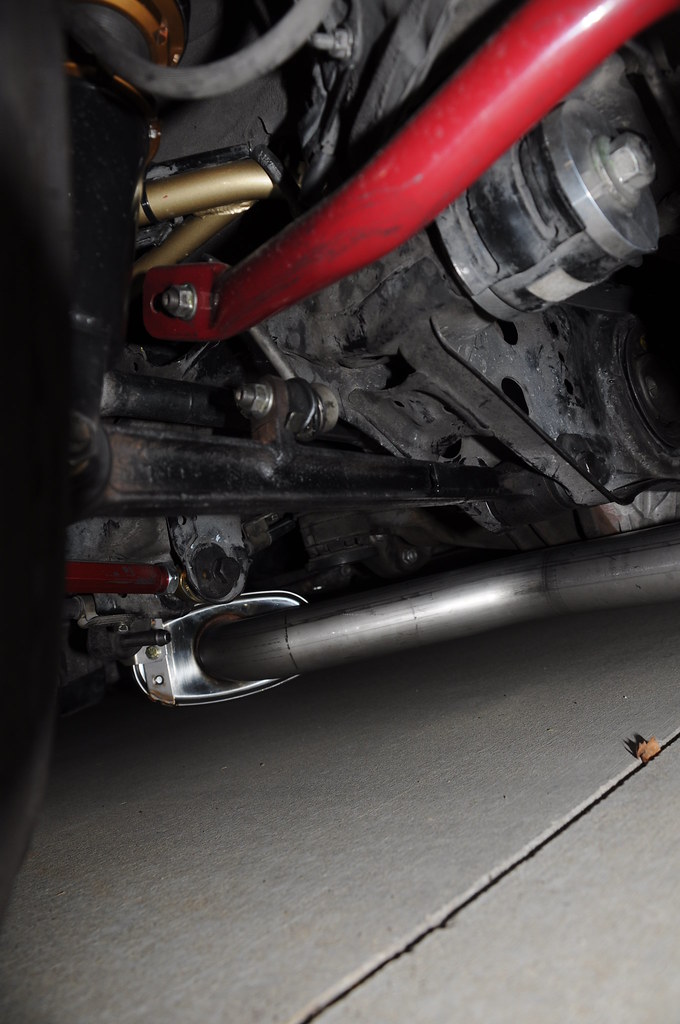
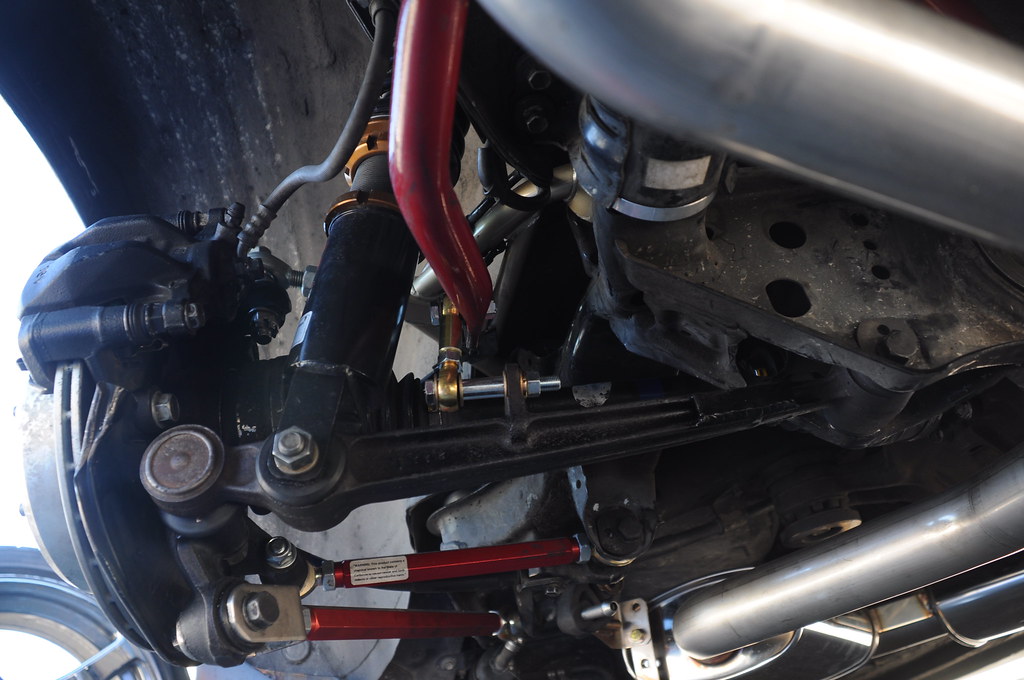
then finally to:
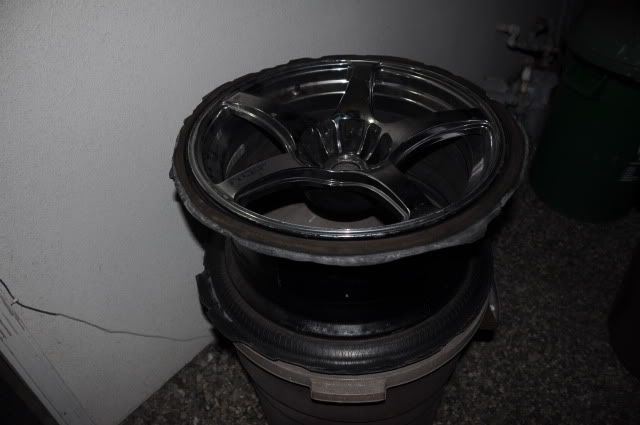
Another thing that had been bothering me about my car was my rear stretch. The 18x10+22 in back are far from illest,bro fitment, so the 225/40 stretched onto them looked 1. out of place and 2. ridiculous.
So, I picked up a pair of new-ish 255/35/18 fk452s (not my fave, but they’ll do) for $200 off zilvia. The beads turned out to be damaged, but thankfully, a friend at Pep Boys was able to get the beads to completely seal and all was good.
After pounding down the bump that runs inside the wheel well right where the tire would sit, I slapped the wheels on, torqued them down, only to realize that I could've gone wider. Dammit.
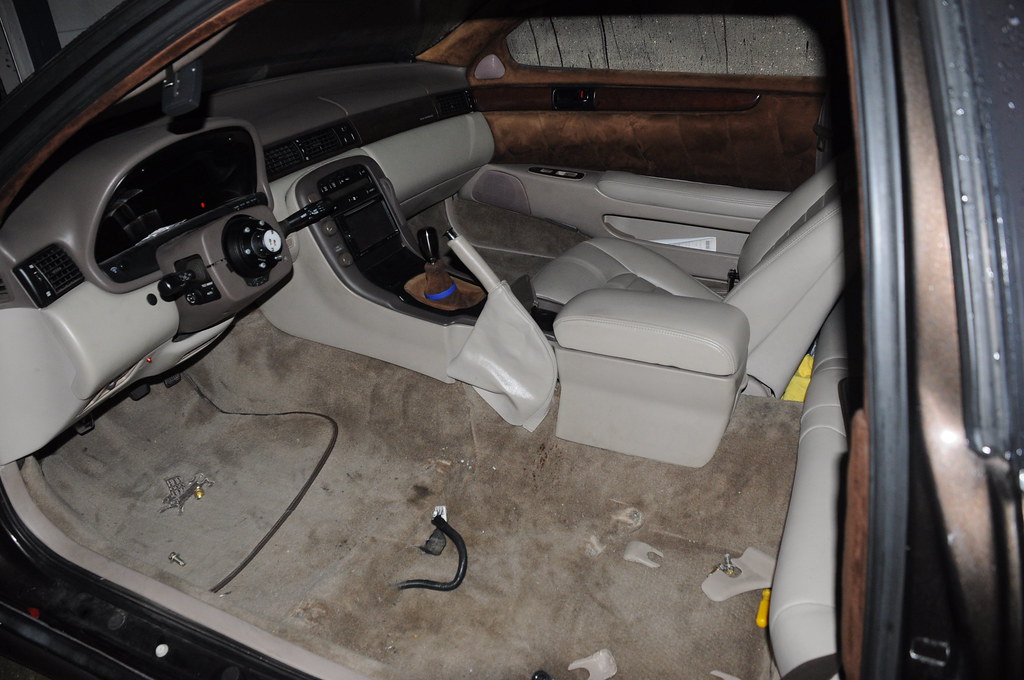
Then to my surprise, the Friday before the annual VIPFest held at AutoFashion in SD, the Bride seat rails that I had ordered 6 weeks before were awaiting my arrival back home at my doorstep.
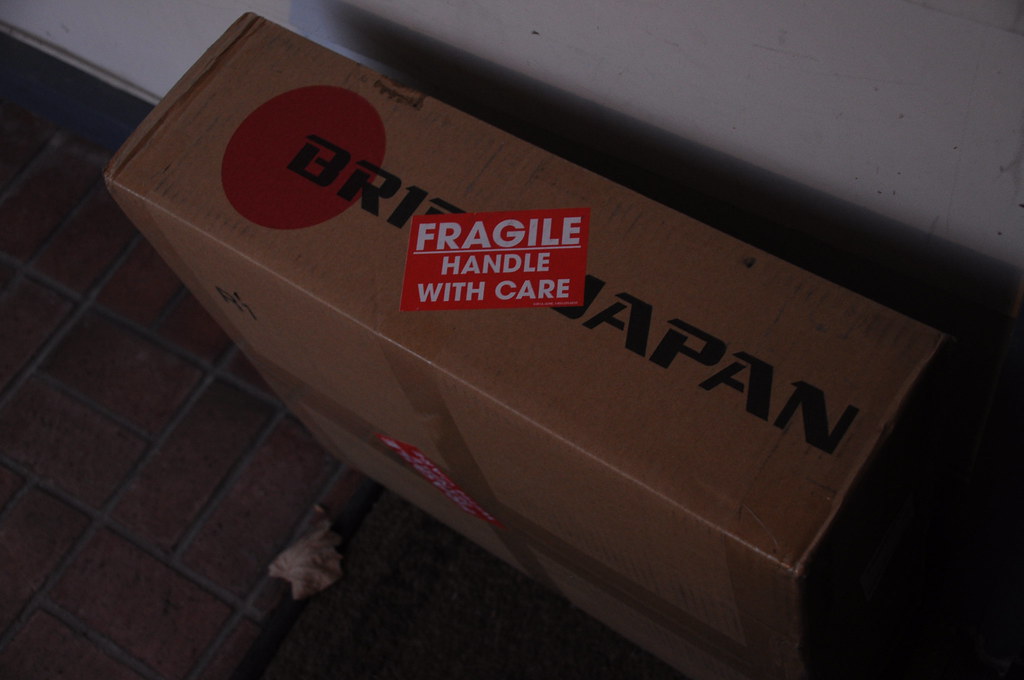
Giggling like a little girl, I grabbed it and headed to my room to tear open into the box and start assembling it.
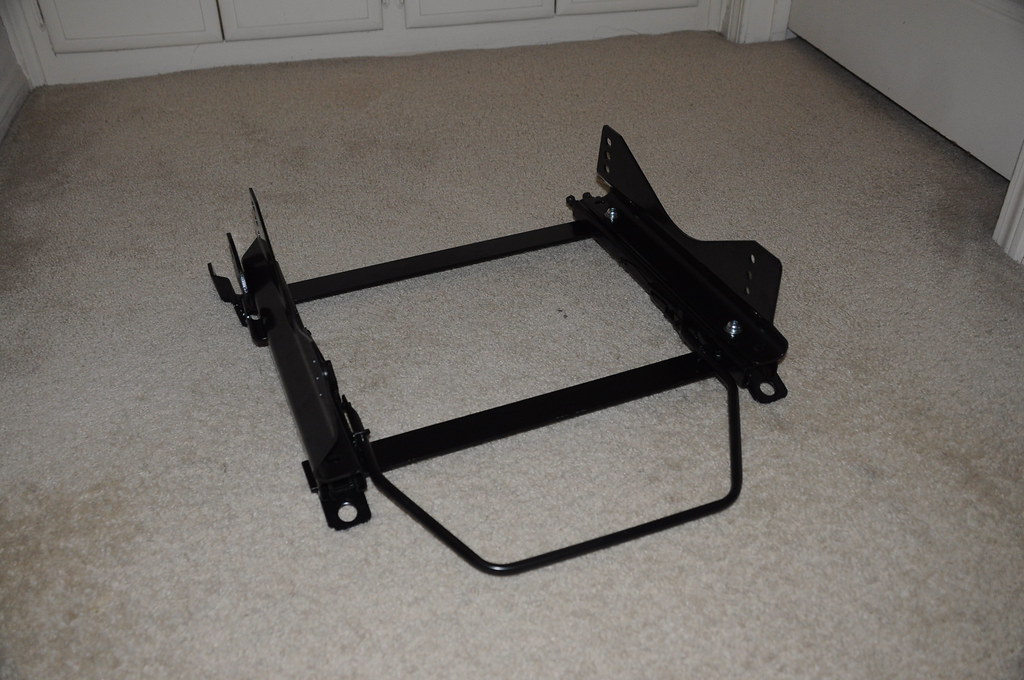
Threw my seat into the equation
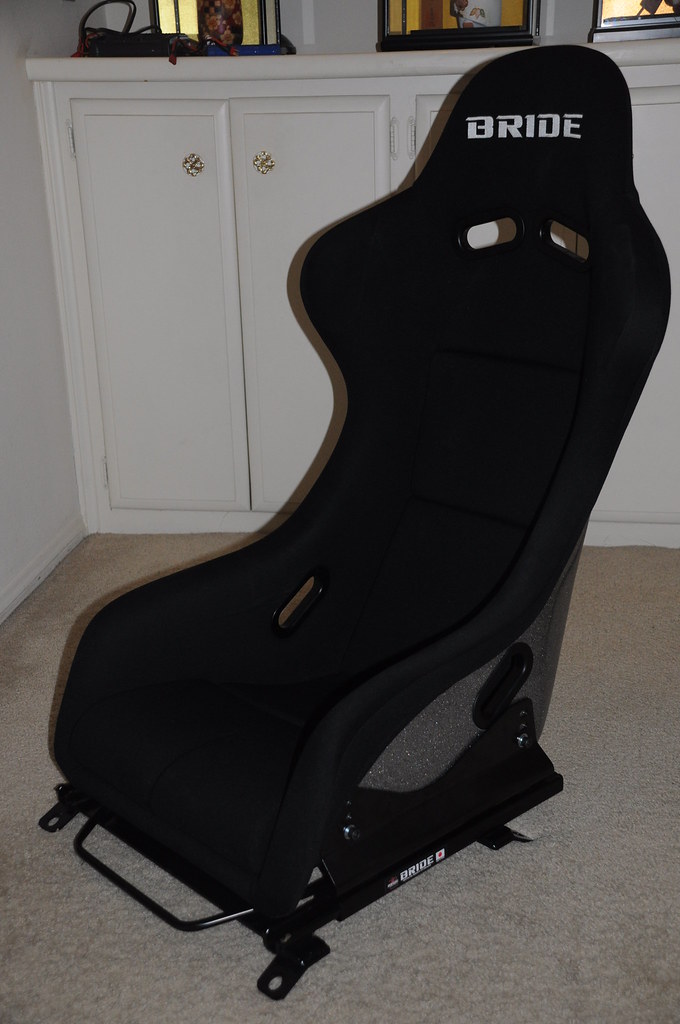
Then went back to the car to take off the 5 bolts and 1 plug that held the seat to the floor. The biggest issue I had with this whole process was this step. Though the process was incredibly straight forward, wiggling a seat that I later found out to be 70 lbs out of the car proved to be a huge pita. Thankfully the new seat rail and seat combo came out to just about 30lbs.
Once my back got some rest, I went back out and quickly bolted the seat in at the lowest setting.
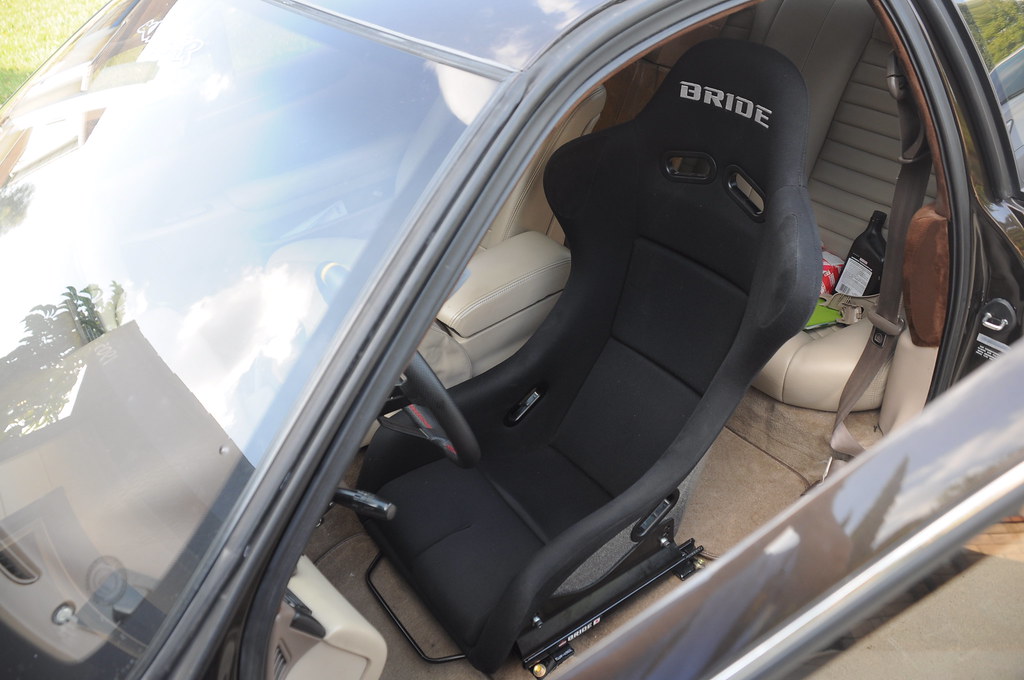
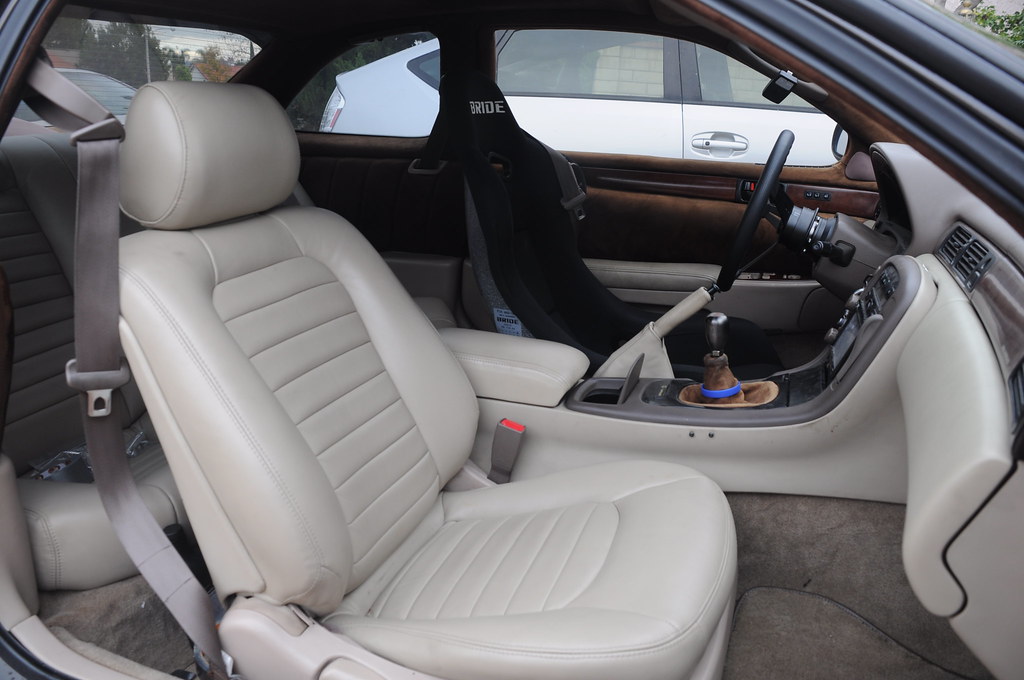
The lowest setting turned out to be a too low, so I took the seat out and raised it 1" or 1 hole to the middle setting, and all was good. Drove it down to SD, 2 hr long drive each way, and got out at the end of the day with a deteriorated spine and squished hips. Thankfully, this process apparently got my body used to the seat reeally quickly and from the 2nd day on, I felt more comfortable in this seat than any other stock seat.


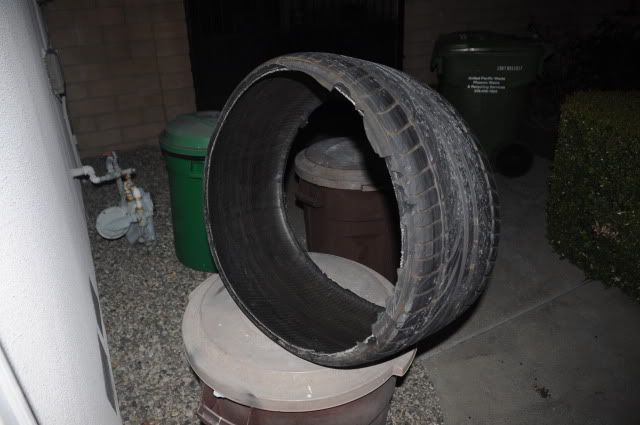
Unfortunately, the next day after my trip to SD, one of my newly acquired 255 falkens in back decided to go out in an epic fashion on my way home from work, so I'm thinking of saving up for a bit while rollin around on 1 steelie to take this opportunity and go 265 or maybe even 275 in back, just because I can.
 RSS Feed